Cloning a virtual machine without VSPHERE
If you have a single ESXi box and don’t have access to a VSphere box because of the lack of a license or hardware, you are missing some of the key functionality that makes virtualization great. The ability to clone virtual machines is a very useful feature found in the VSphere piece that allows you to basically copy a virtual machine identically to a new machine either to spin up something new or create a backup. If you are looking to clone a machine for instance that you may have setup as a template, you can actually do this by exploring the datastores and copying the files from one virtual machine to another. Let’s look and see how this is done.
First thing is to browse the source datastore that you want to clone from:

- Select the datastore that you are going to be copying from
- Right-click the datastore and choose “Browse Datastore”
After you choose the “Browse Datastore” option you will see the contents of the selected Datastore

- Right Click on the folder of the virtual machine that you are wanting to copy and select “Copy”
After selecting and copying the source VM folder, we need to get to the destination
- This can be the same location (datastore) as the source or it can be a different location (datastore)
- If this is a different datastore, simply go back to your Summary Tab again and “Browse Datastore” of the target store you have in mind
After you select the target datastore, simply right click in the datastore space and choose “Paste”

- The file copy will start as you see in the screenshot above
- This will take some time, but remember the time you are saving because you are carrying over all the customizations of the source virtual machine that will be ready to go at power on.
You can also keep up with the progress via the vSphere client at the bottom of the screen under Recent Tasks

After the VM copy has completed, browse to the target datastore where the VM folder has been copied to
- Rename the folder to the name of the VM that you want the VM to be. This is not required, but it sure makes things a lot easier when you are browsing your datastores later and trying to figure out which files go to which machines
- After you rename the folder, doubleclick the folder and you should see all of the files associated with the VM…

- Right click the file with the extension .vmx and you should be presented with the option of “Add to Inventory“
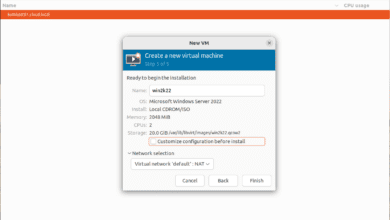
- When you select the Add to Inventory the Add to Inventory Wizard will display on the screen
Name the new VM

Choose the Resource Pool

Confirm the creation of the new VM

***Note on the first boot of the new VM, you will be presented with an informational item from VMware…..it will ask if you have Moved the VM, Copied It, etc…because it will recognize the fact that it is identical to the source VM. Simply select that you “Copied it” and it will make the needed changes and continue the boot process.
This will finish out the clone process. You should be good to go on using the new VM after this point.