How to add Cisco NX-OSv in GNS3
In provisioning a quick lab scenario inside of GNS3, I wanted to use the NX-OSv image to simulate some real hardware. For those that may not know, as I wrote about, you can take images downloaded via the Cisco VIRL portal and use these inside of GNS3. Let’s take a quick look at How to add Cisco NX-OSv in GNS3.
How to add Cisco NX-OSv in GNS3
Before we begin the import of the NX-OSv image, we need to do two things first:
- Login to your Cisco VIRL portal and download the two NX-OSv files available (***NOTE*** you must have a valid Cisco VIRL subscription to do this).
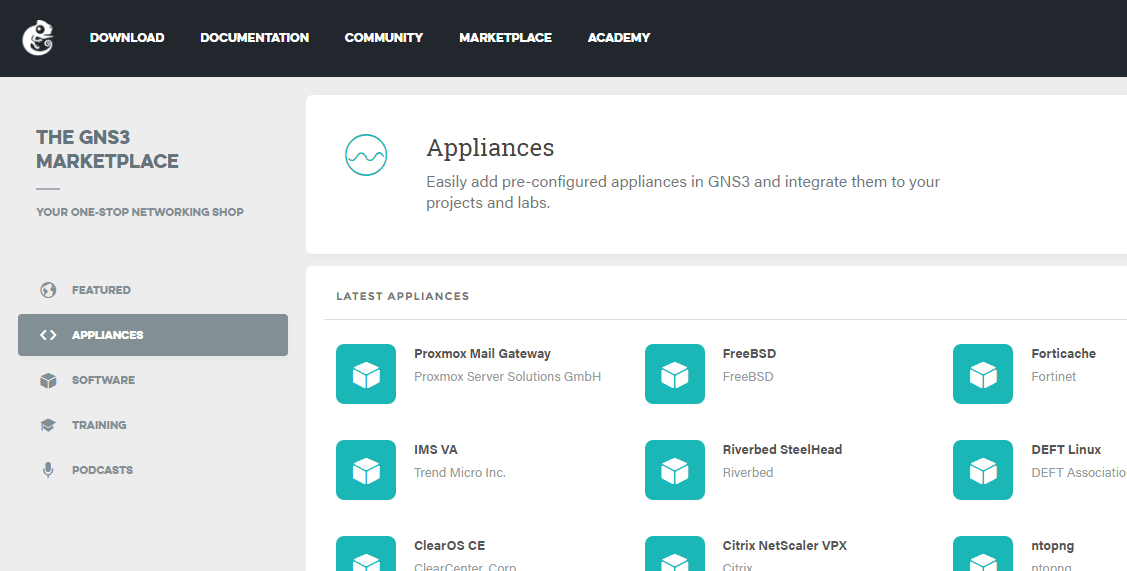
- Go to https://www.gns3.com/marketplace/appliances marketplace and download the NX-OSv appliance
Once you have those things downloaded, we can begin the process in GNS3 to import the appliance and point it to our NX-OSv files.
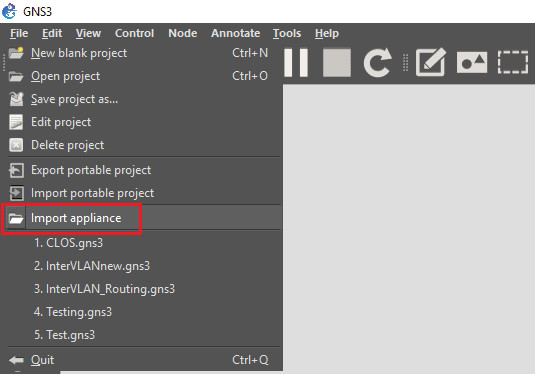
Open up GNS3 and under the File menu you will see the Import appliance option.
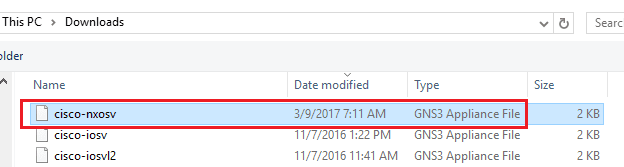
When you click on the Import appliance option, you will be directed to browse your computer for the appliance file that you download from GNS3. Select the cisco-nxosv GNS3 Appliance File you downloaded from GNS3.
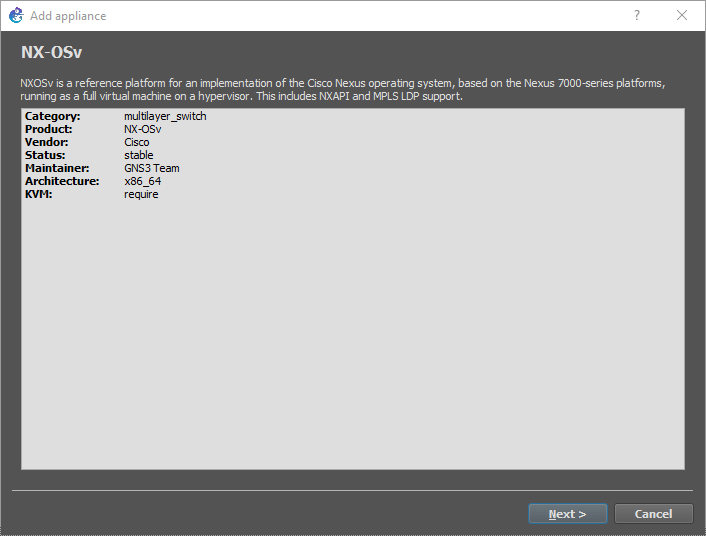
This will begin the Add appliance wizard. Click Next.
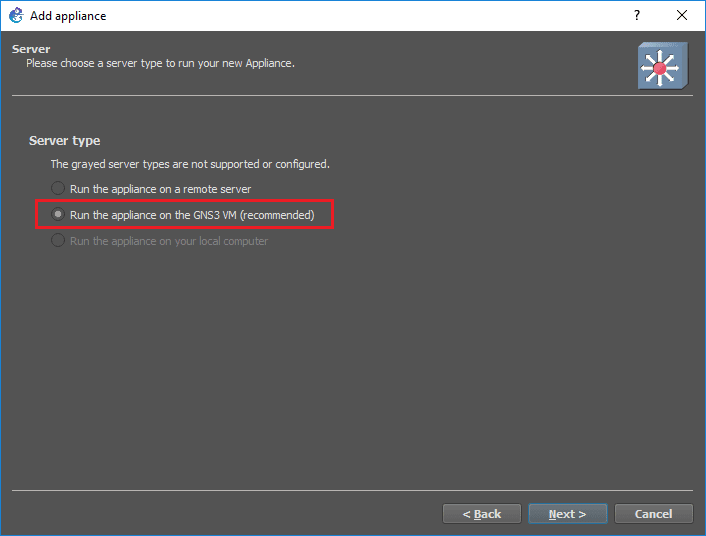
Most likely you have GNS3 virtual appliance running your GNS3 workloads. If not, check out our post here on how to configure GNS3 appliance in ESXi.
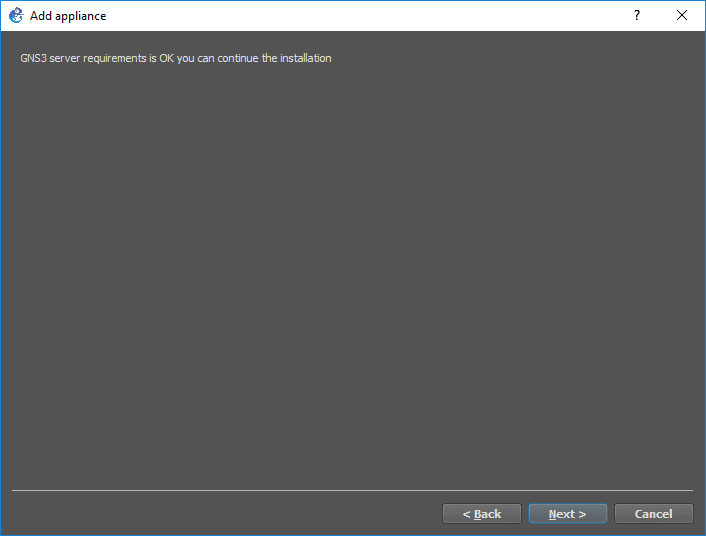
A quick requirements check is performed and you should see that you are good to continue the installation. Click Next.
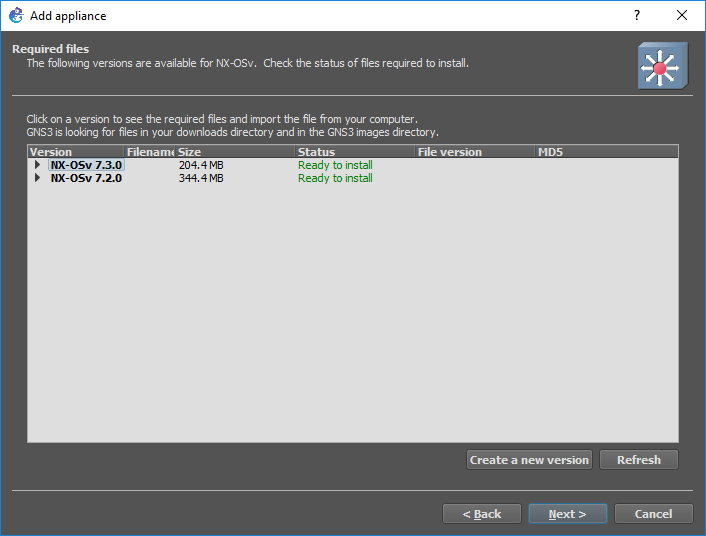
Since I had all the files downloaded in the same folder, including the required image files downloaded from the Cisco VIRL portal, the Add appliance wizard already found the files it needs to install the NX-OSv appliance. You should see the Ready to install status under the Required files screen. Click Next.
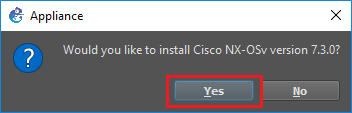
Confirmation pops up – Would you like to install Cisco NX-OSv version 7.3.0? Click Yes.
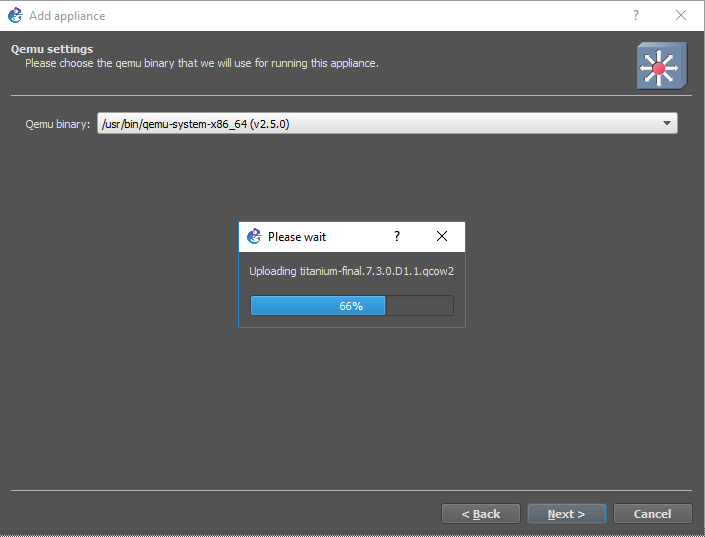
The required image files will begin to upload to your GNS3 virtual appliance.
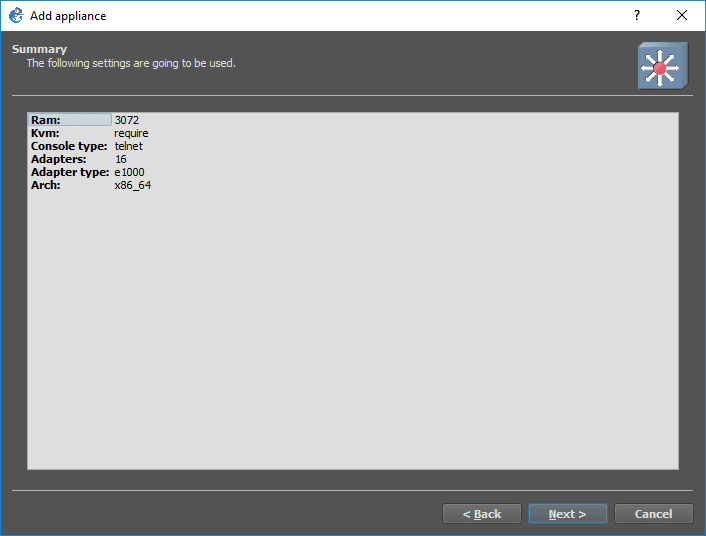
Once the upload has finished you will see a Summary screen. Click Next.
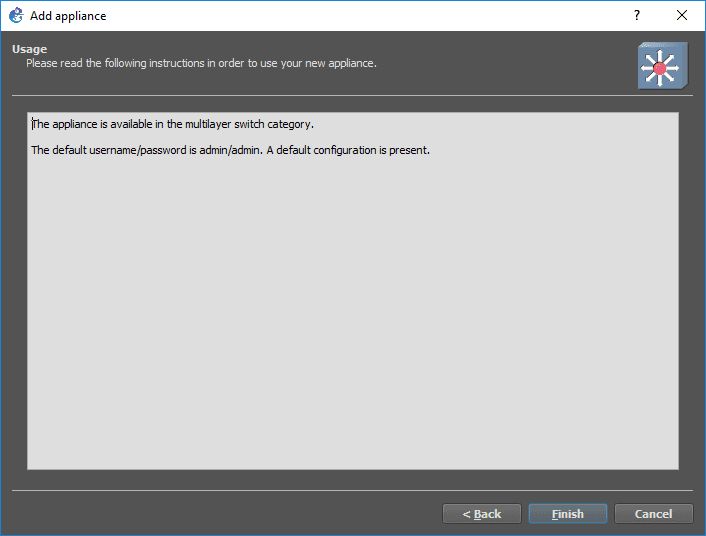
Finally, the last screen gives us the defaut username/password for the appliance that has been imported.
Final confirmation – the Cisco NX-OSv 7.3.0 appliance has been installed.
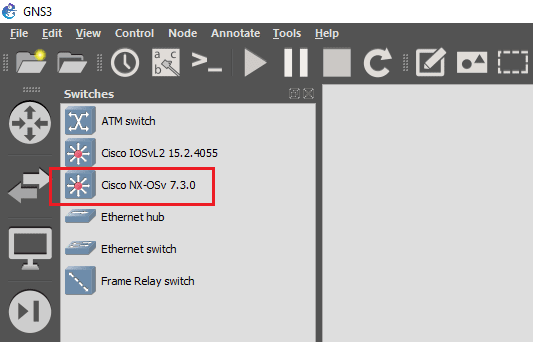
Now, we can go to our switch category in GNS3 and we should be able to see the Cisco NX-OSv 7.3.0 device listed.
Thoughts
The process of How to add Cisco NX-OSv in GNS3 is very straightforward and the GNS3 appliance file makes it a breeze to get the NX-OSv images installed and working in GNS3. The power of the appliances is truly awesome in making installing various devices possible in GNS3.