Install Windows Server 2016 Hyper-V Nano Server in VMware ESXi
One of the exciting features of Windows Server 2016 is Nano Server which is basically a headless operating system that really does strip out just about everything but the necessary components to run a server operating system. There is of course no GUI, no Remote Desktop, or other built in management tools on the server itself. The process to install Windows Server 2016 Hyper-V Nano Server is quite different than installing from either optical or USB media. However, to add an interesting wrinkle, let’s take a look at how to install Windows Server 2016 Hyper-V Nano Server in VMware ESXi and the steps involved.
Install Windows Server 2016 Hyper-V Nano Server in VMware ESXi
To begin with, one tool that makes Nano Server deployment a breeze comparatively speaking is the Nano Server Image Builder. This utility provides a graphical interface overlay to all the powershell commandlets that you would need to run otherwise. It really makes getting your Nano server image prepared much easier. In the how to that follows, I will be using the Nano Server Image Builder to create the initial Nano Server image.
Prerequisites for Nano Server Image Builder
The main requirement once you download and install the Nano Server Image Builder is that you have the Windows Assessment and Deployment Kit installed. You won’t be prompted to install this first, but rather when you launch the Nano Server Image Builder and start stepping through to create an image, you will be notified you need to download the kit.
Also, to get started created the Nano Server image, you will need to have the Windows Server 2016 ISO handy to mount for source files.
Creating a new Nano Server image
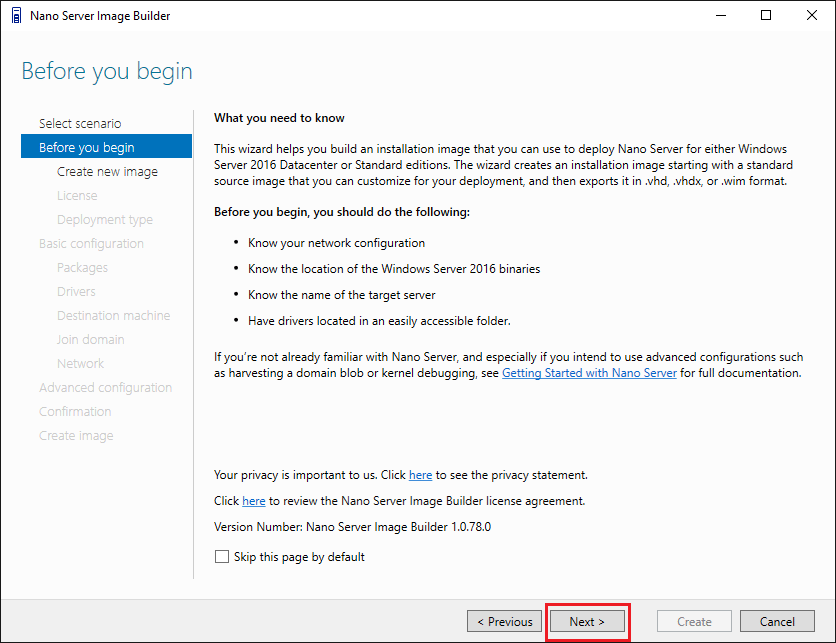
We begin the Nano Server Image Builder by selecting to Create a new Nano Server image.
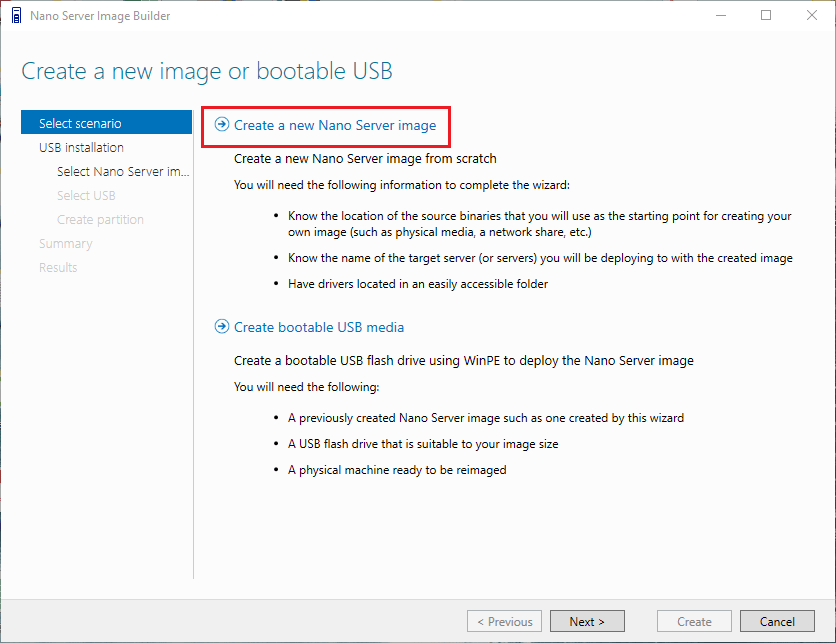
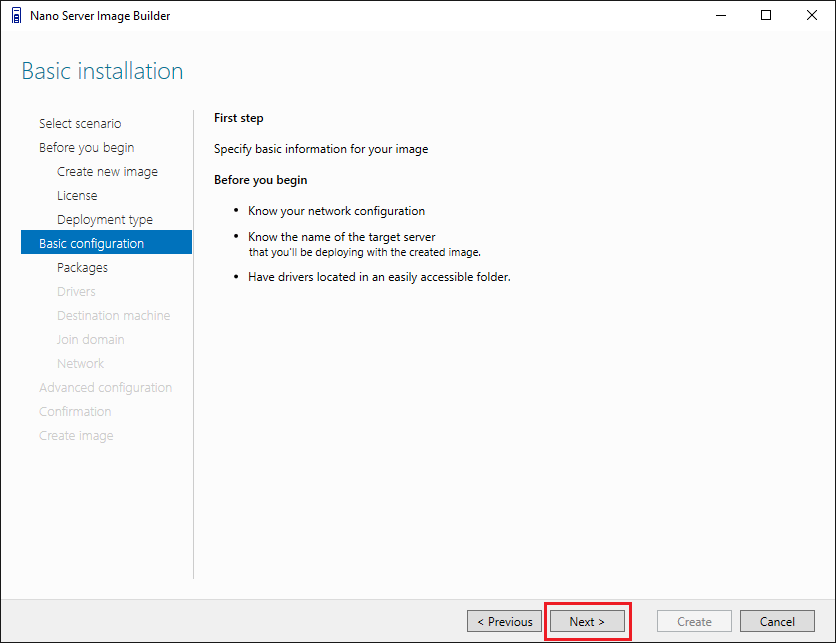
Next.
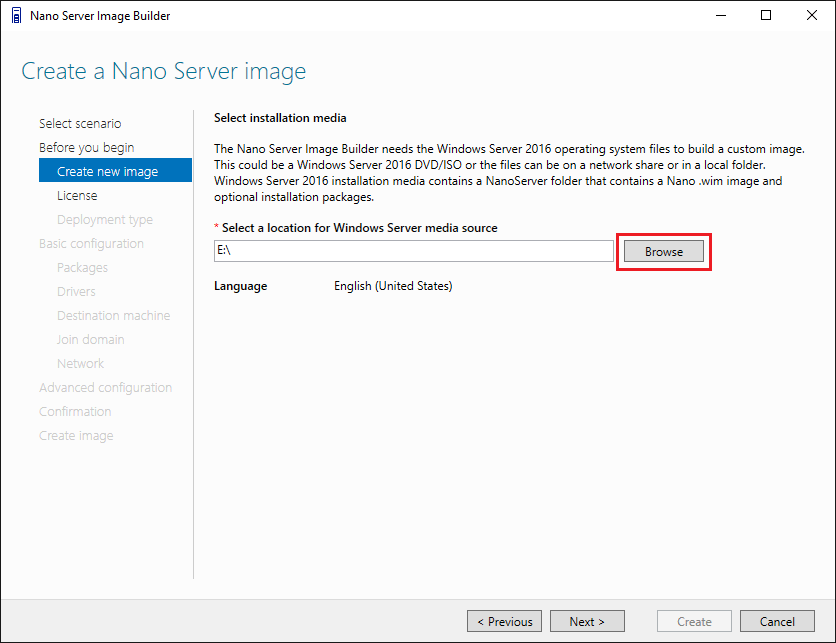
Here we specify the installation media location. I have mounted the Windows Server 2016 ISO to my E: drive.
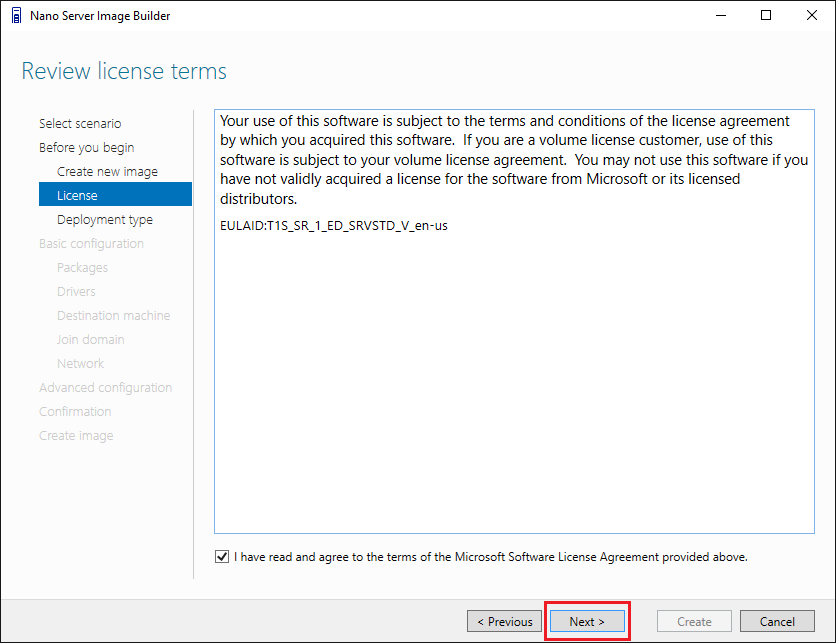
Accept and Next on the license terms.
Here we are selecting to create a Virtual machine image and specify the location for the output files. I have created a c:nano folder on my local hard drive.
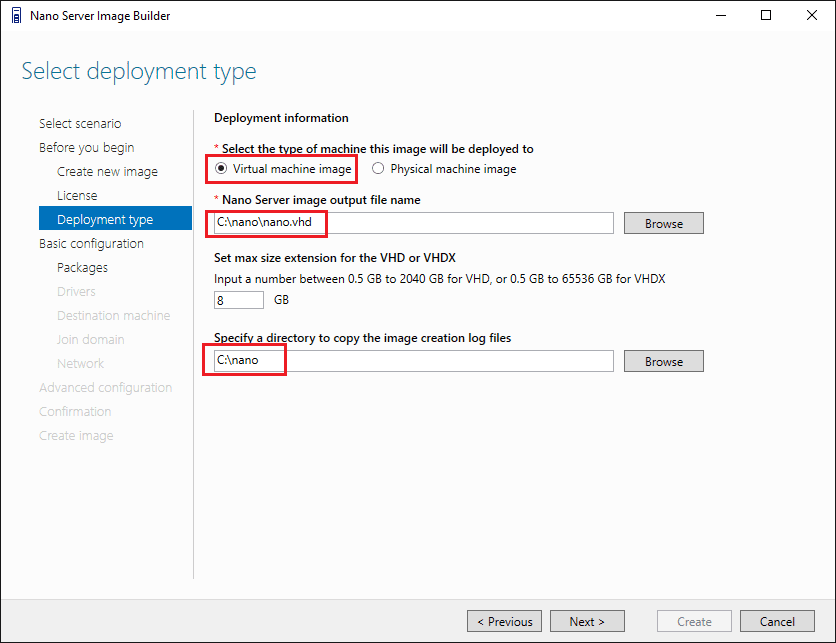
Next.
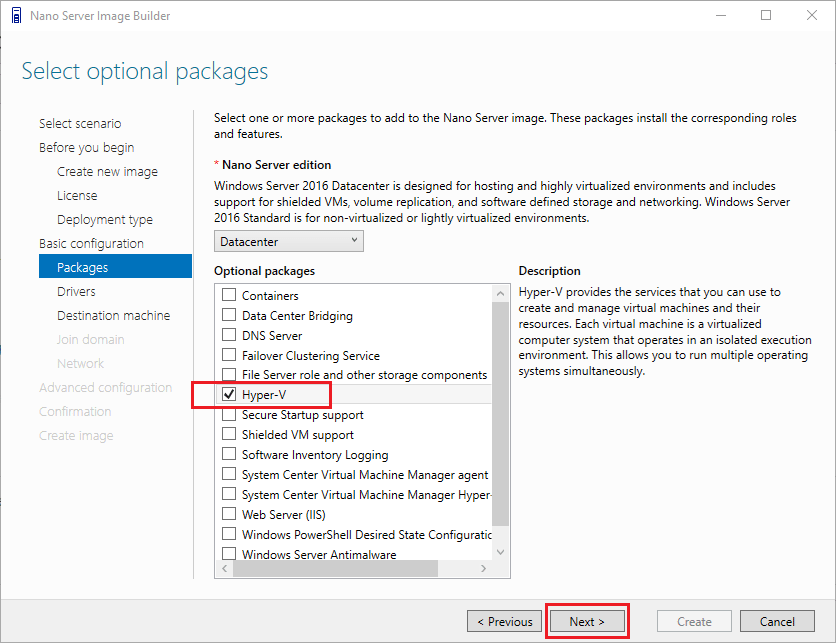
Here we can select the optional packages or roles that we want to include in our Nano Server image. I have selected Hyper-V.
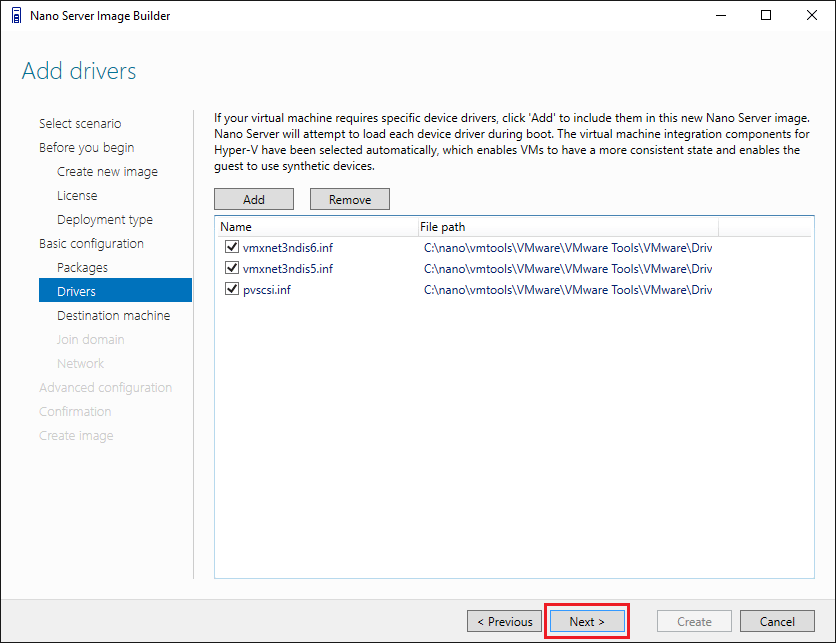
For the purposes of installing this Nano Server image in VMware ESXi, this is a critical step to have device drivers included and found after we provision the VM. As you can see below I have included the vmxnet3 and pvscsi drivers for network and storage. How do we get these drivers?
Obtaining our VMware tools drivers
To get the drivers I have included above, you simply need to download a copy of the windows.iso VMware tools media from your ESXi hosts. To do that, simply enable SSH and connect to your host. The /vmimages folder is found in the /root directory. Once you have your ISO image, you need to simply mount the windows.iso file in windows and run the following to extract the tools install to a folder.
d:setup64.exe /a /p c:nanovmtools
From here using the sample directory structure above, you can find the drivers you need here:
C:nanovmtoolsVMwareVMware ToolsVMwareDrivers
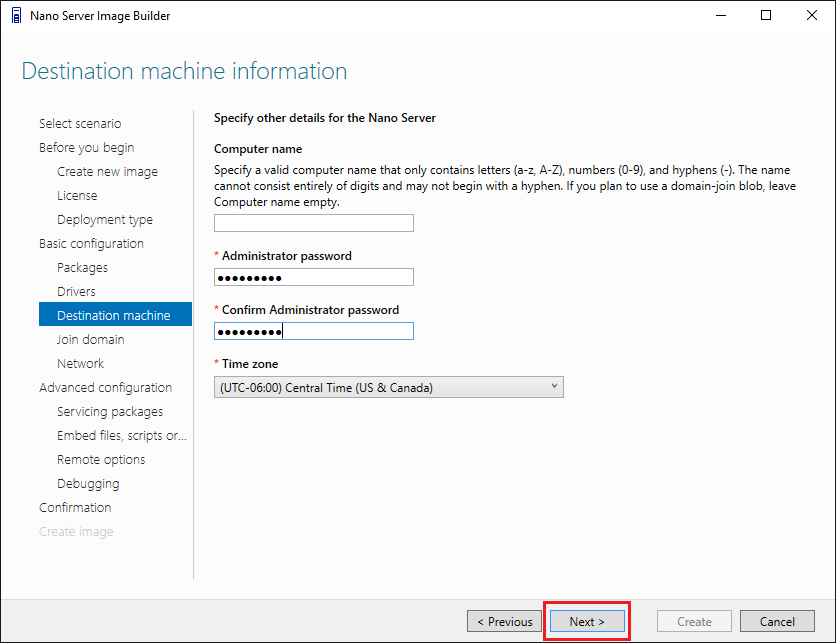
Let’s pick back up on the next screen of the Nano Server Image Builder. Here we are specifying the local administrator password. Notice how I am leaving the Computer name empty. This is because on the next screen we will specify the domain blob file for offline domain join.
Here we are checking to Join domain and selecting the Domain blob file. Where do we get this file? Our domain controller.

Getting the Domain blob file for offline domain join
On our domain controller, or another administrative workstation with RSAT loaded, we run the following command:
djoin /provision /domain testlab.local /machine NANO16 /savefile c:nanojoin.djoin
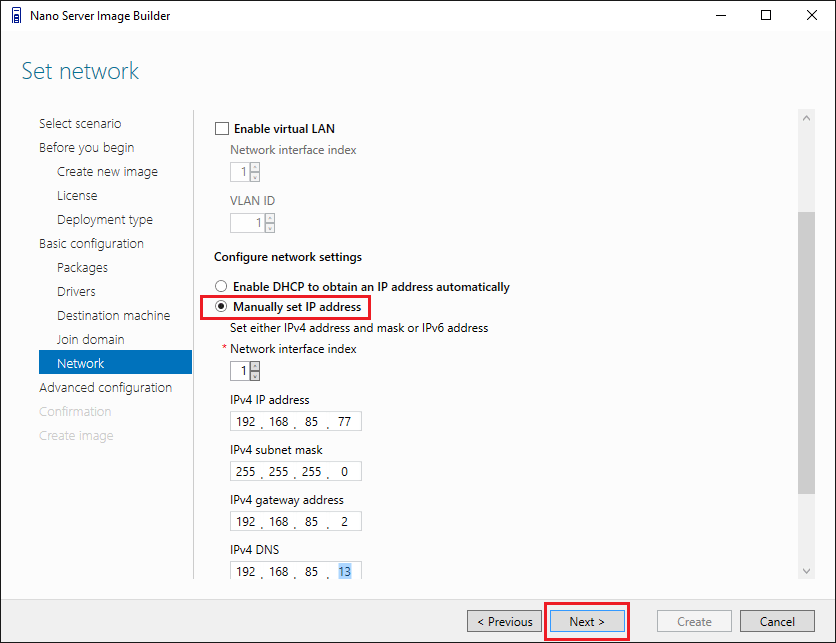
This prestages the computer account for our Nanoserver so that when we feed in the blob file the Nano Server can join the domain. Let’s pick back up on the next configuration screen. Here we are able to select the network settings for the Nano server. I am selecting to manually set IP address here since I don’t have DHCP running in my lab environment.
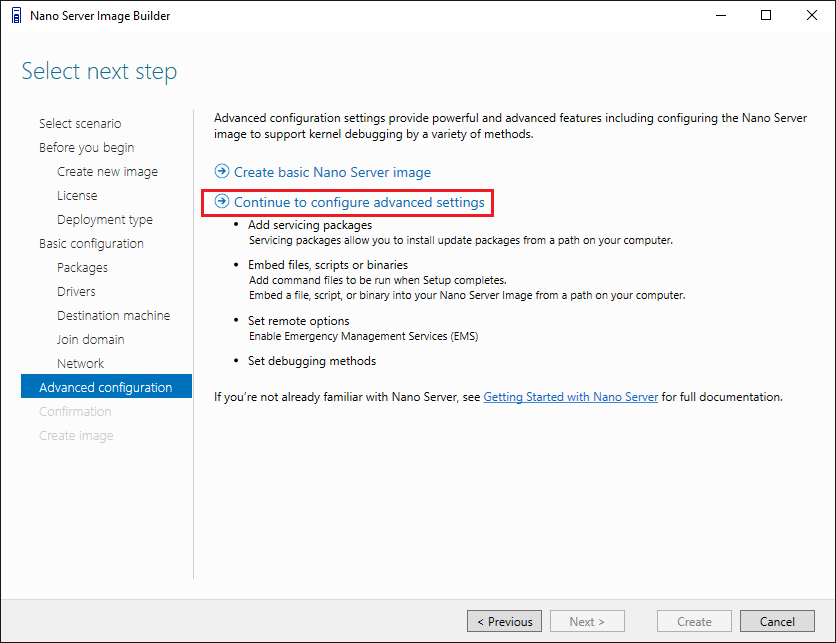
Here I don’t really have any advanced settings to configure, but I wanted to show the options on these screens. Most of these are developer oriented.
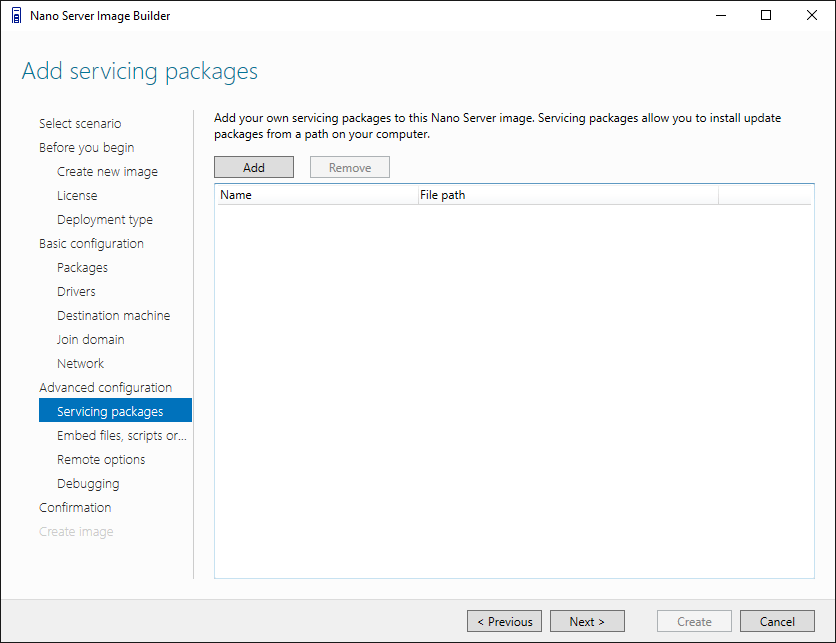
Here we can Add servicing packages.
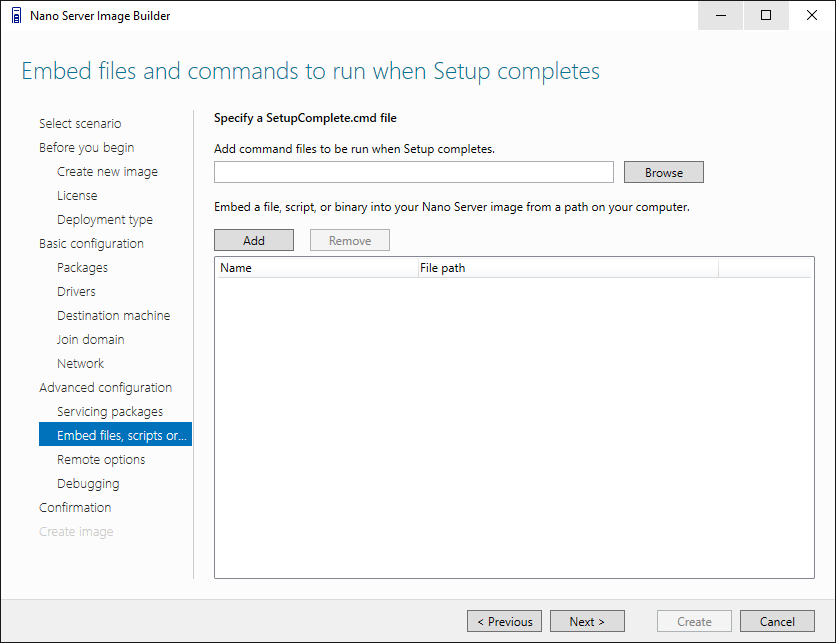
We can embed files and run commands on the server after setup completes.
We can enable remote options.

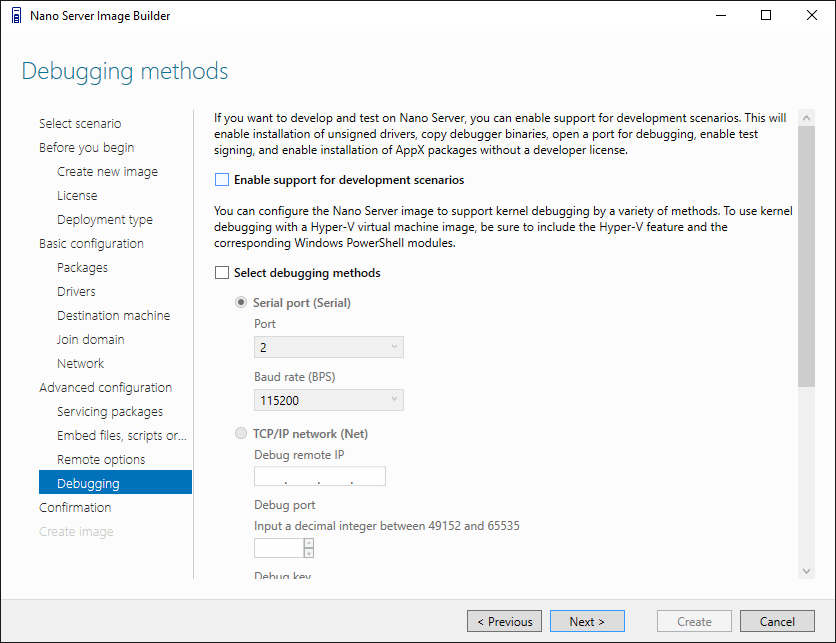
Debugging methods.
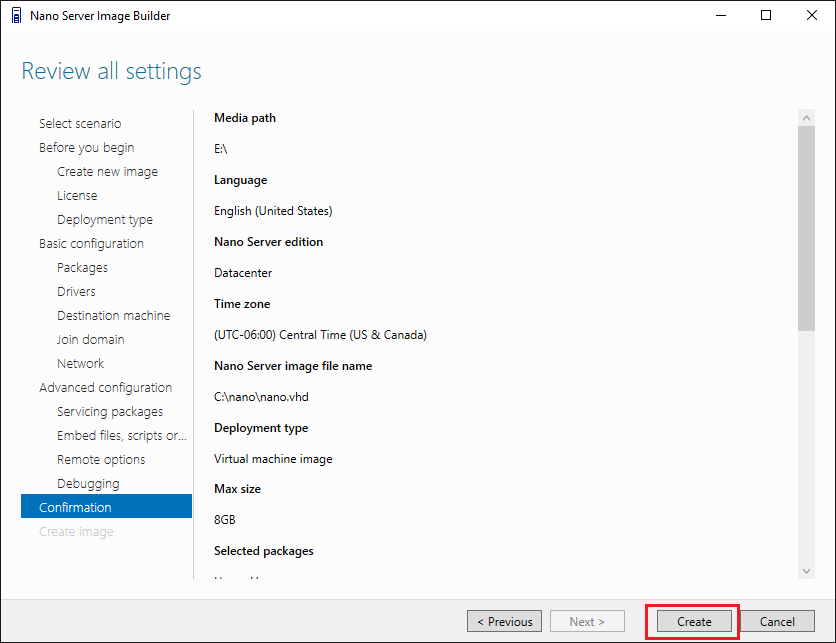
Finally, we come to the review settings screen that allows us to take a look and confirm all our configuration parameters.
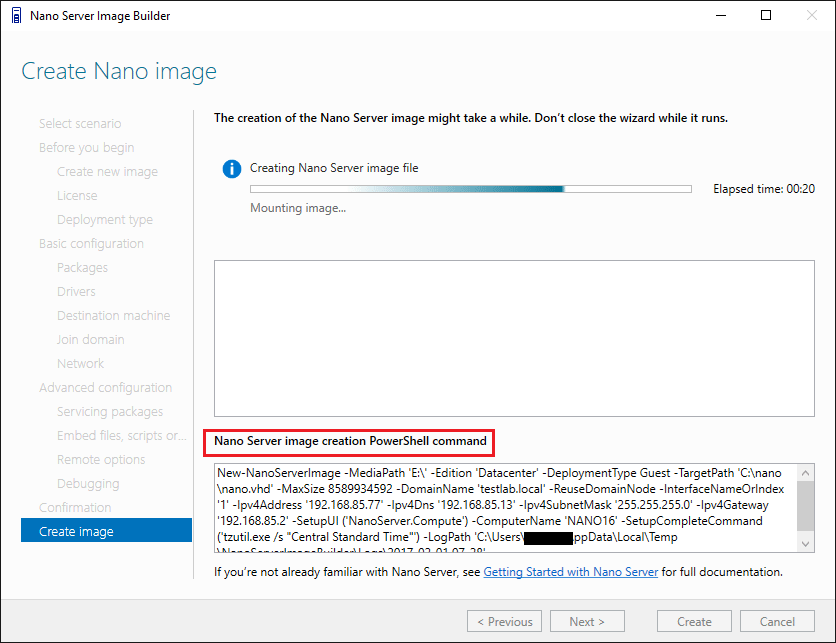
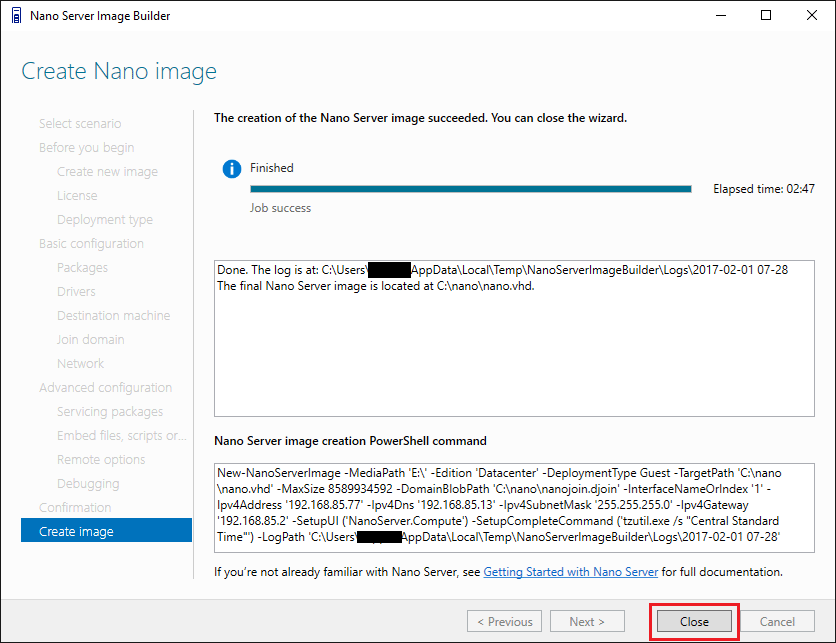
We can then begin the creation process to actually create the image. One thing I really like about the Nano Server Image Builder is the utility shows us the Powershell code to perform the operation. This is really handy for learning purposes and just to see what the utility is doing under the hood.
The image has been created. Success!
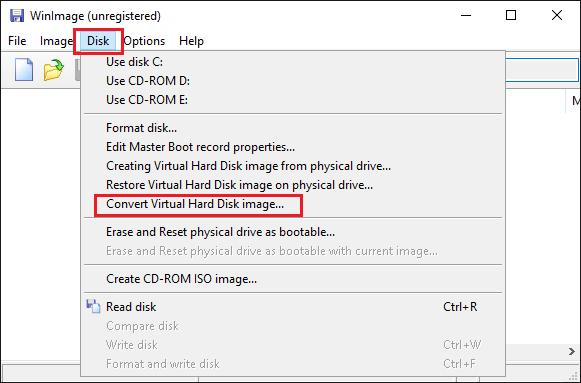
Convert the VHD to VMDK
Using the utility that was mentioned here, WinImage, I was able to quickly and easily convert the VHD over to VMDK format. Select to Convert Virtual Hard Disk image. You will choose the source VHD file and then name the VMDK file and select VMDK as the format.
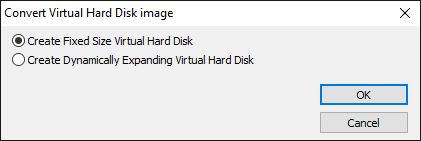
Choose Create Fixed Size Virtual Hard Disk.
After the conversion:
- Upload the resulting *.vmdk and *-flat.vmdk to your datastore.
- Create a new VM in ESXi with vmxnet3 and vmware paravirtual controller to coincide with the drivers we injected in the Nano Server Image Builder utility.
- Instead of creating a hard disk, point the VM to the existing converted hard disk from WinImage we uploaded to the datastore.
- For Hyper-V be sure to expose hardware assisted virtualization to the guest
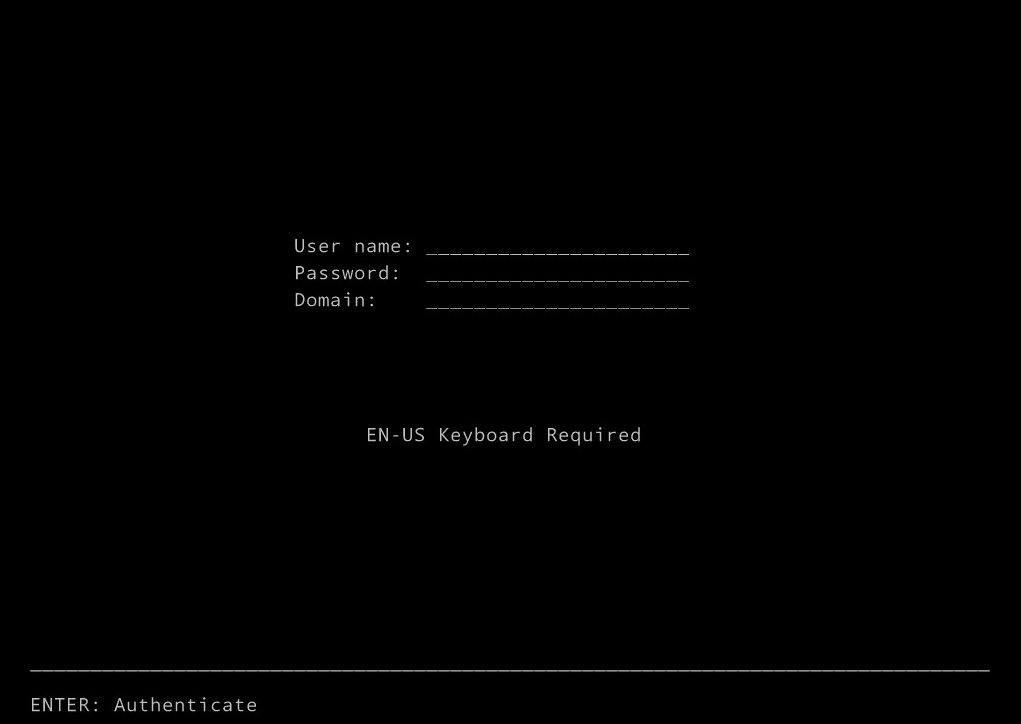
This should do it! You should now be able to boot your new Nano Server image and login with domain credentials on your Nano Server in VMware ESXi and play around with Hyper-V on Nano Server. In the next post on this topic we will take a look at additional configuration and other tips and tricks with Hyper-V on Nano.
Thoughts
Nano Server shows a lot of promise for a headless operating system that is stripped down and ready to perform cloud ready roles such as Hyper-V, containers, and others. With the Nano Server Image Builder we are able to Install Windows Server 2016 Hyper-V Nano Server in VMware ESXi very easily. Stay tuned for more Nano Server posts.