Virtual Extreme EXOS install and configuration
In today’s world of virtual servers and appliances, our network labs and simulations have easily become virtualized as well – case in point GNS3 and Cisco VIRL. Many vendors are supplying virtual appliances to be able to play around and model for lab purposes. Extreme Networks has provided virtual EXOS images for this purpose as well. Let’s take a look at Virtual Extreme EXOS install and configuration.
Virtual Extreme EXOS install and configuration
First things first, in order to get the virtual appliance installation, go here: https://github.com/extremenetworks/Virtual_EXOS where you will find the documentation as well as the ISO images to install within a virtual environment. Currently, the virtual environments supported are VMware and VirtualBox. For the purposes of this post, I will be using an ESXi 5.5 test host to spin up the EXOS VM.
Creating the Virtual Machine
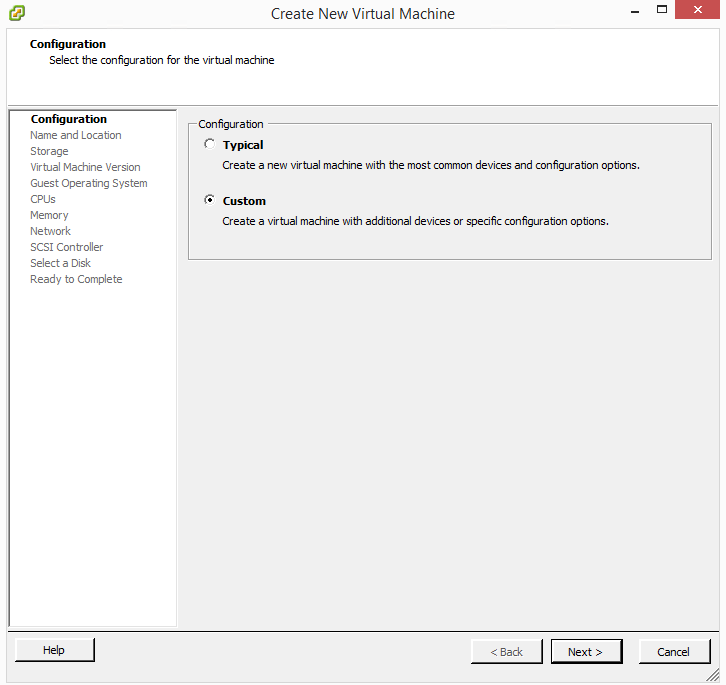
Our first step with getting the EXOS install going is creating our shell virtual machine. Start out with a Custom option here.
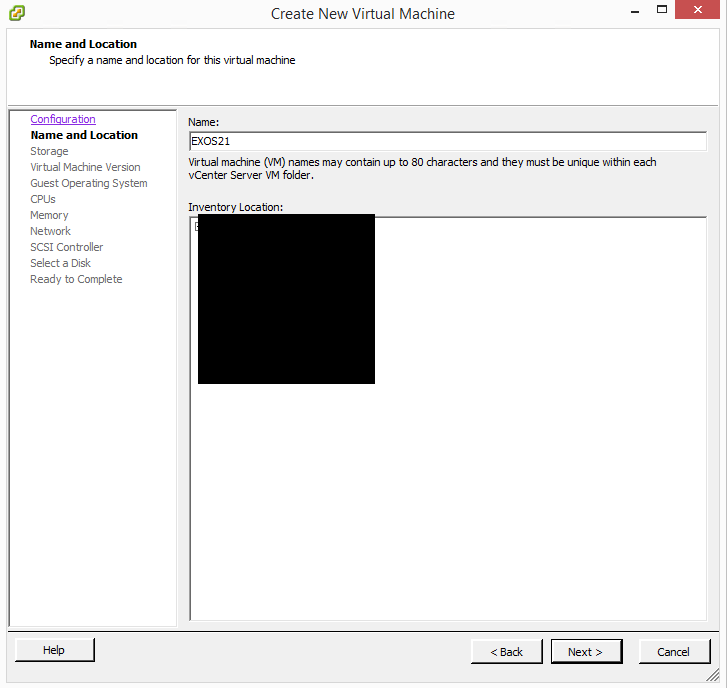
The obvious stuff like Name and location in your environment (folder, etc).
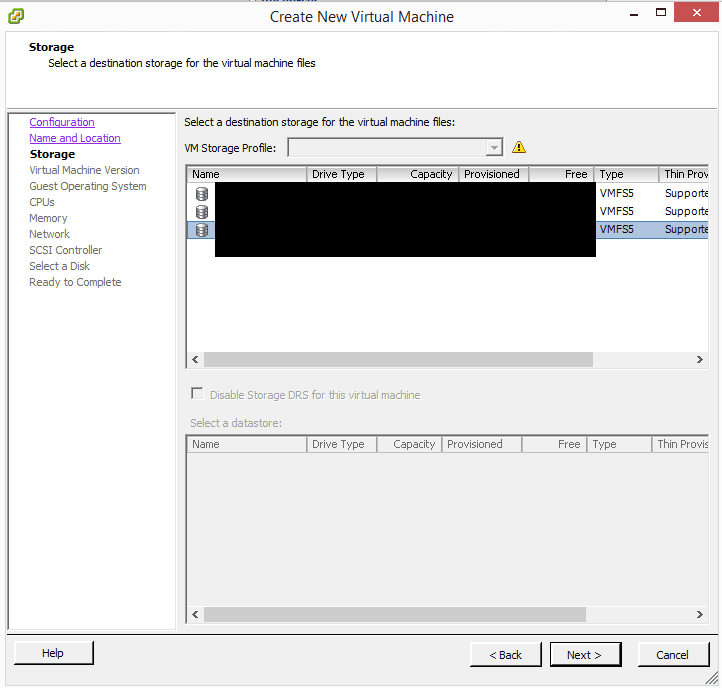
Choose your storage to house the VMDKs.
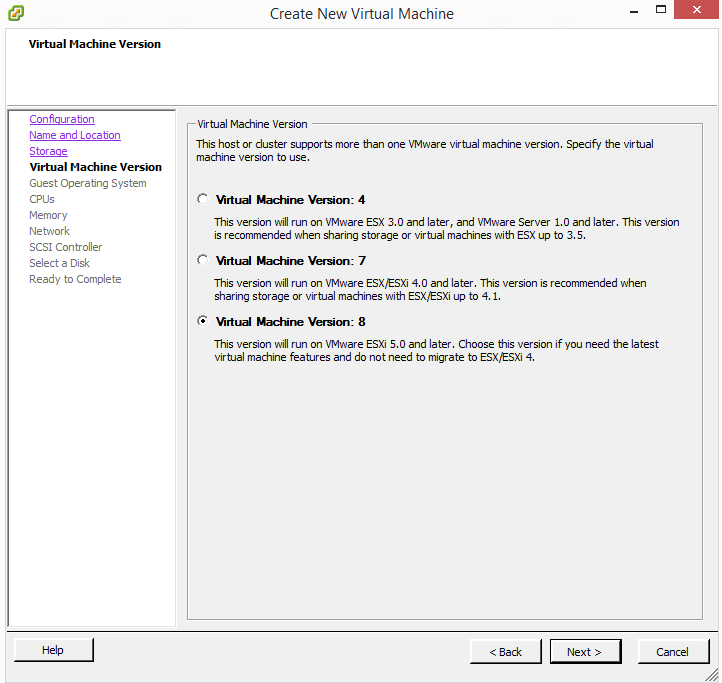
Machine version.
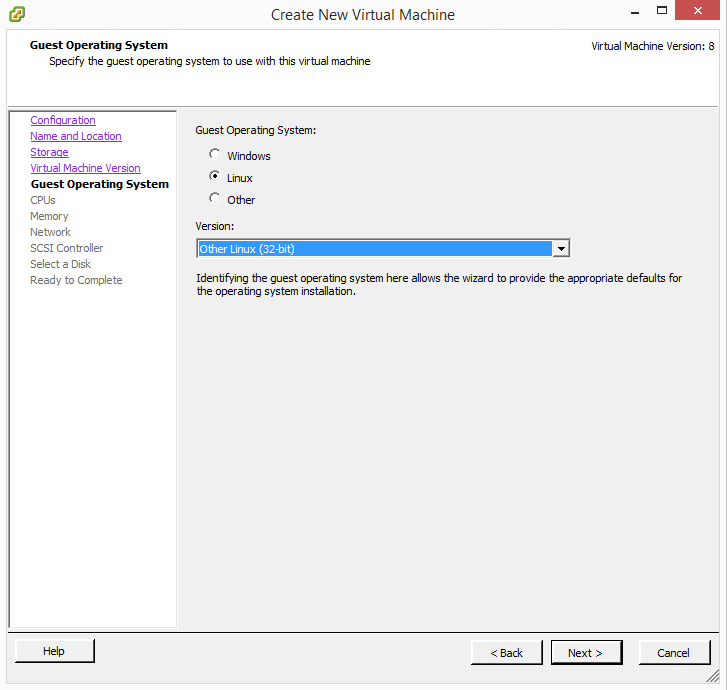
We need to choose Other Linux (32-bit) to house the EXOS install.
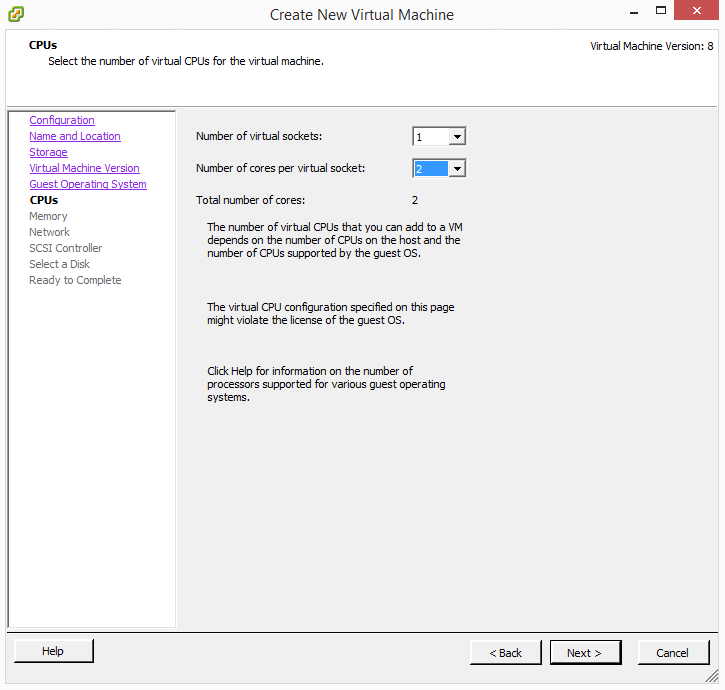
Choose (1) virtual socket and (2) cores per virtual socket.
Configure 256 MB of memory.

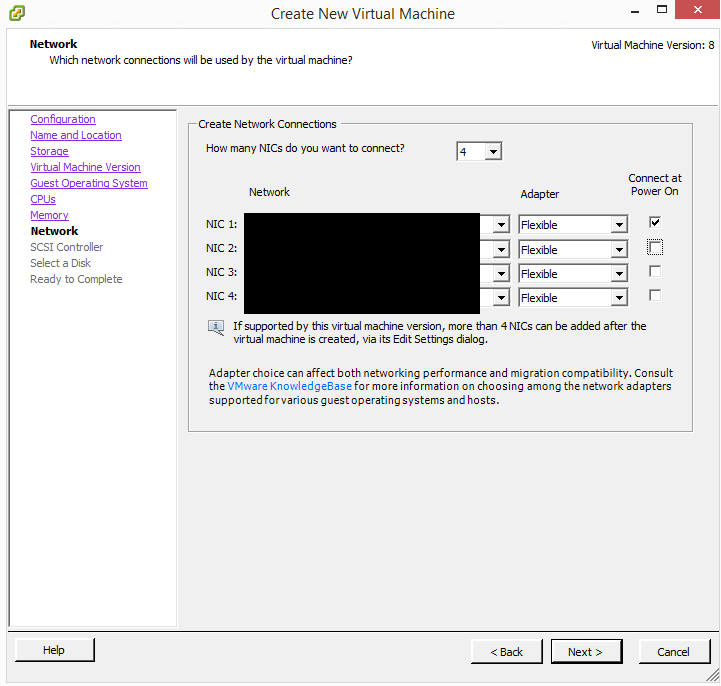
The network setup is a little bit different. We need to choose (4) NICs to connect. However, only check one of the NICs to Connect at Power On. I connected the (4) NICs to the same network for now (more on this later). The reason you want to disconnect the other three is that this avoids potential switching loops. The way the VM is designed is that the first port is the out-of-band management port, then the other VM network adapters are “front panel” ports. We use these to connect to unique internal virtual switches.
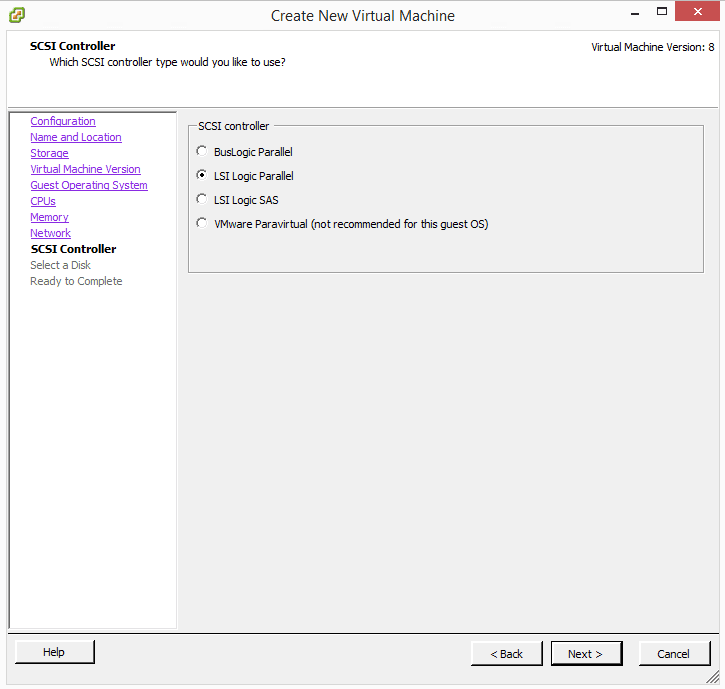
Select LSI Logic Parallel for the SCSI controller.
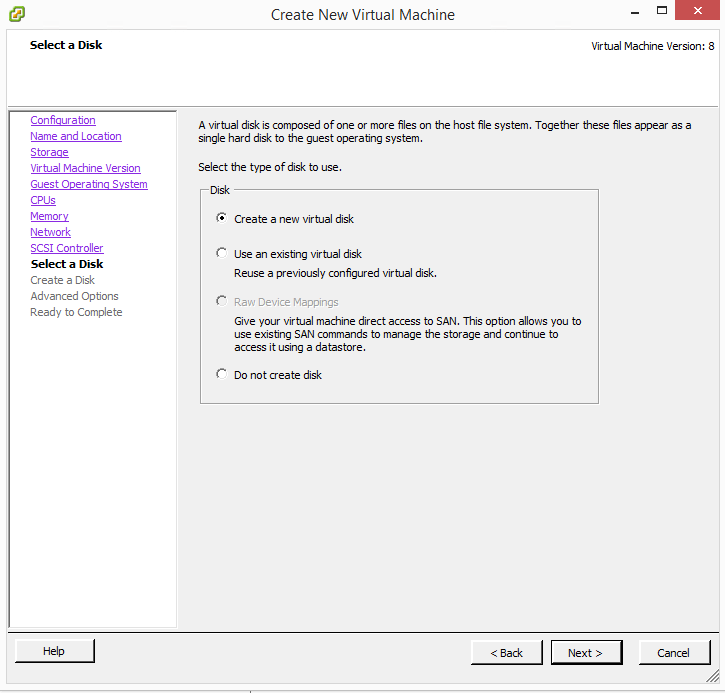
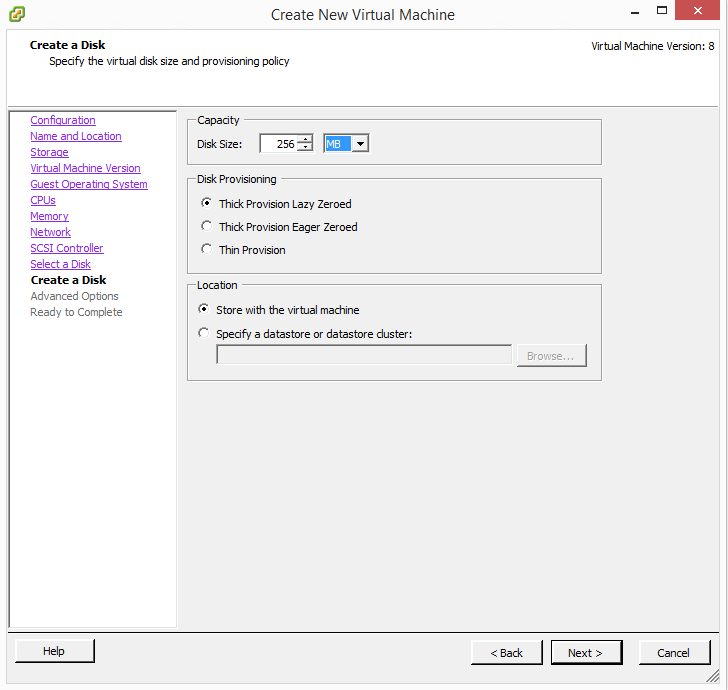
The size of the disk is minuscule as we only need 256 MB.
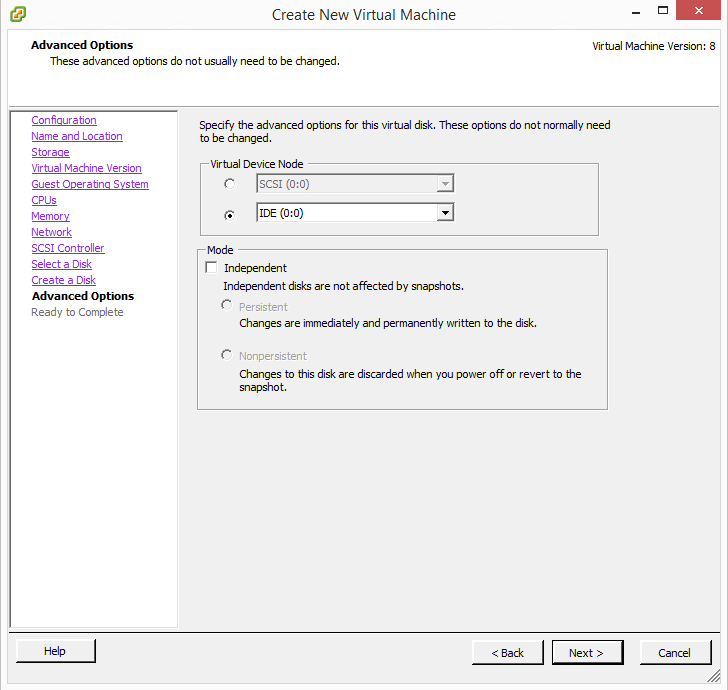
In the advanced options of the virtual machine, choose IDE (0:0) instead of the SCSI option.
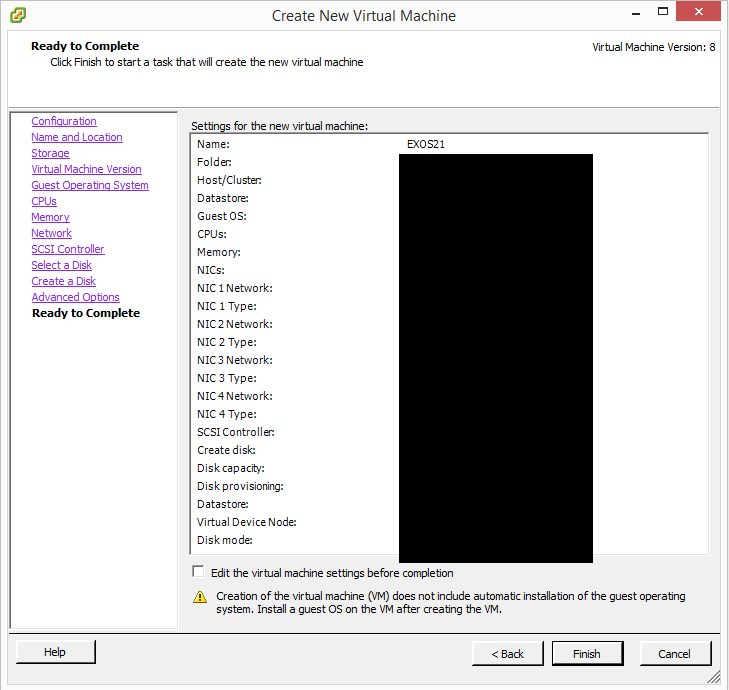
Here we have the summary screen as the VM is created.
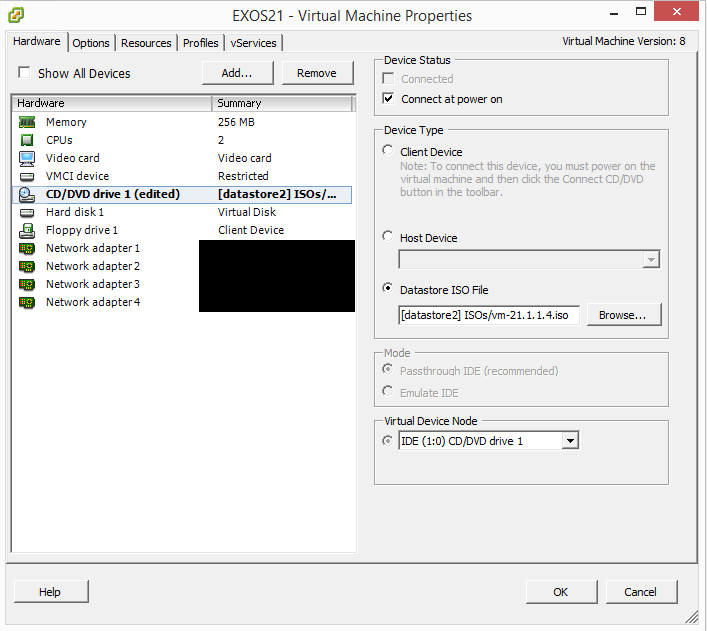
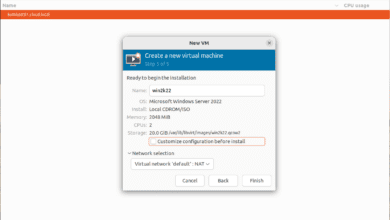
Go into the properties of the virtual machine and edit your CD drive to choose the EXOS version 21 ISO you downloaded with the link provided above.
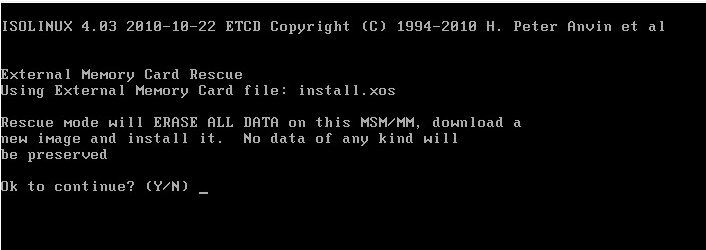
You will get a familiar linux boot to begin installation.
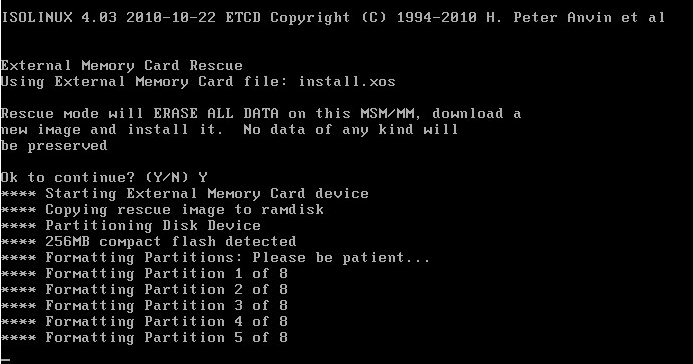
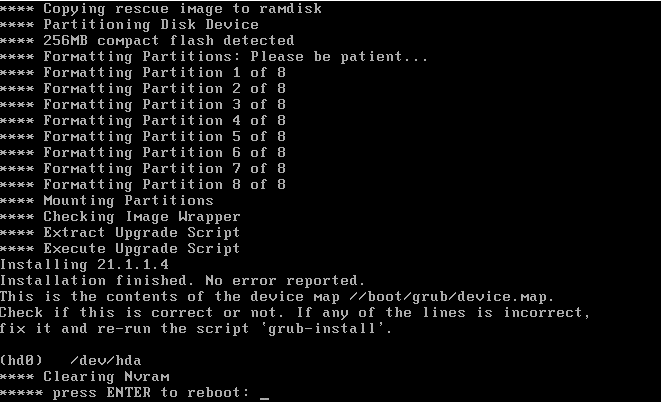
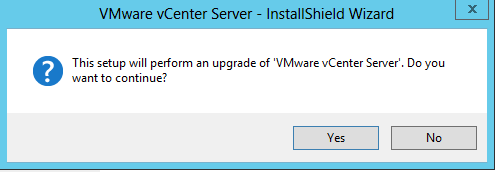
Installation begins after choosing Yes.
A prompt for reboot is displayed when installation is complete.
When you see the Authentication Service (AAA) on the master node is now available for login, the switch is ready to accept logins.

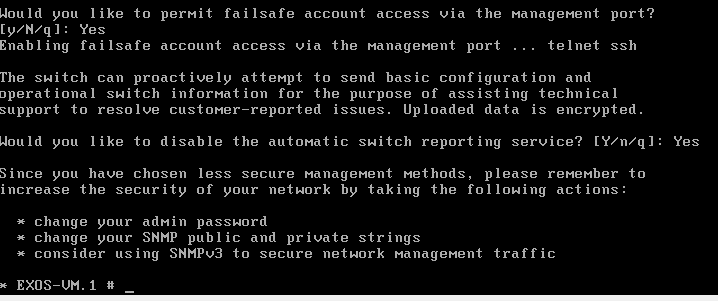
As with a real EXOS switch on first boot, you are prompted to enable enhanced security mode and other prompts that you will see below about enabling/disabling services (telnet, failsafe account, switch reporting, management access, etc).

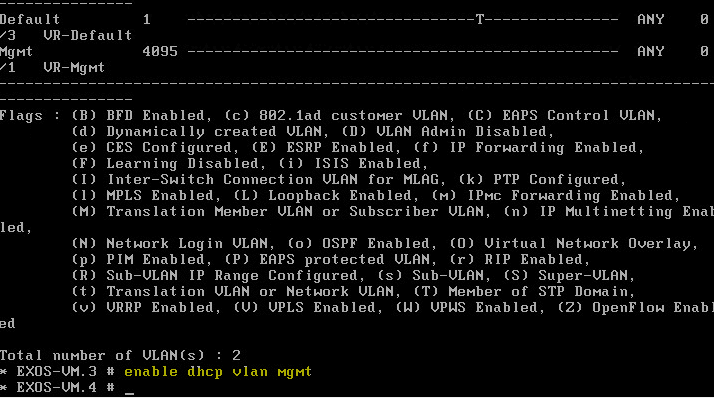
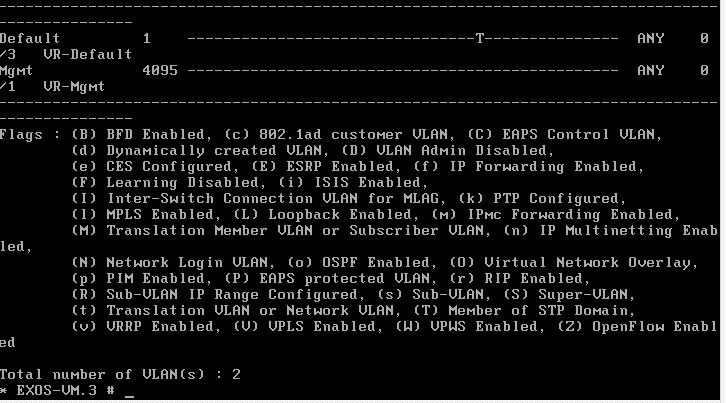
A quick show vlan displays the Mgmt and Default VLANs.
In order to get up and running quickly as I have DHCP running on the test network, you can run the command enable dhcp vlan mgmt to automatically grab and IP address via DHCP.
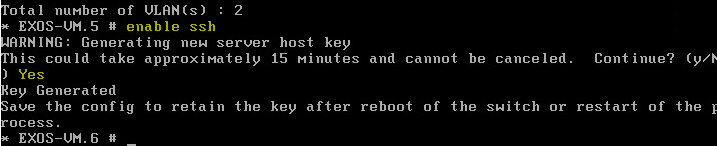
Also, I wanted to enable SSH, so we issue the enable ssh command.
Networking concepts
As we mentioned above, the first port is out-of-band management and the rest are front panel ports. The VM supports up to (9) front panel ports as long as they are each connected to their own internal vSwitches.
Straight from the documentation:
Things to Note:
- Each VM network adapter maps to one port on the switch
- The first VM network adapter always maps to the out-of-band Mgmt port
- All VM network adapters need to be configure as “E1000” type
- Adding EXOS VM network adapters to the same internal network can create loops. Create and use unique port groups and vSwitches for each VM network adapter. (Exceptions include interconnecting EXOS VMs which need to use the same port group and port load-sharing}
- To interconnect two or more EXOS VM switches configure a virtual network adapter on each EXOS VM to use the same port group
- The “connect” setting in the VM network adapter settings can be toggled to “connect” and “disconnect” the virtual link on the associated port
Prior to the initial configuration of the switch, uncheck the “Connect at power on” option for the front-side ports’ VM network adapters in the VMs hardware settings. This avoids potential loops as the factory default configuration includes all front-side ports as members of the “Default” VLAN
The above is found in the documentation that comes with the download of the EXOS image.
Final Thoughts
The virtual Extreme EXOS install and configuration is fairly straightforward. Having the appliance is a great learning and labbing tool to be able to setup different scenarios or to test configurations/commands, etc. There are even some good threads out there on how to enable VIRL support for this EXOS image. There are plenty of things that you will find useful about the image. I hope more vendors get on board with releasing virtual images of their switch and other hardware interfaces.

There is a better guide for this located here. It uses GNS3.
https://github.com/extremenetworks/Virtual_EXOS/blob/master/GNS3_EXOS-VM_Guide.md