Nakivo Backup & Replication v6.0 Install and Impressions
These days there are quite a few backup and replication products on the market for the virtual environments that may be considered when choosing a way to protect critical VMs and data. However, there are a few that set themselves apart with features, functionality, and pricing. Recently, I was able to get my hands on Nakivo Backup & Replication v6.0 with the not for resale license. You can request the NFR license by navigating to the Nakivo site here: https://www.nakivo.com/en/nfr/free-nfr-license.html. Those with vExpert, VCI, VCP, VMUG member, VSP, and VTSP status may request the license. I found Nakivo Backup & Replication v6.0 to be a very capable product that was easy to install and configure and quickly start getting backups of VMs. Let’s take a look at Nakivo Backup & Replication v6.0 Install and Impressions.
Overview
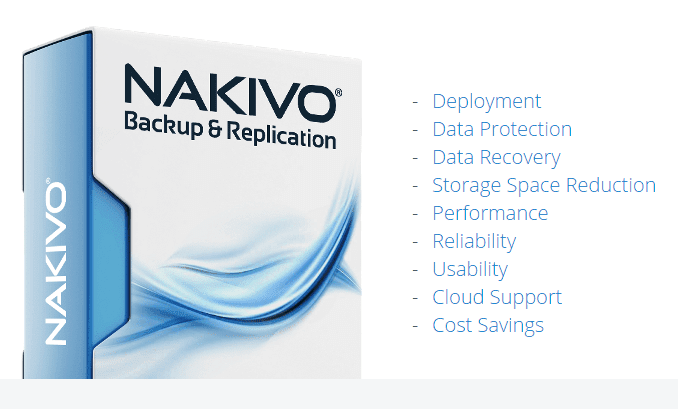
The Nakivo Backup & Replication v6.0 product is a very capable and fully featured backup and replication solution that has many great features that are impressive, including but not limited to:
- Installing directory onto a NAS – compatibility with Western Digital and Synology
- AWS AMI images are offered with Nakivo – makes installing preconfigured ready appliances a snap in the cloud.
- VM Backup copies, instant recovery, file and application aware recovery
- Data deduplication, compression
- DR recovery with replication and VM replicas
- Performance technologies – Network acceleration, multithreading, and forever incremental jobs just to name a few.
Nakivo Backup & Replication v6.0 Install and Impressions
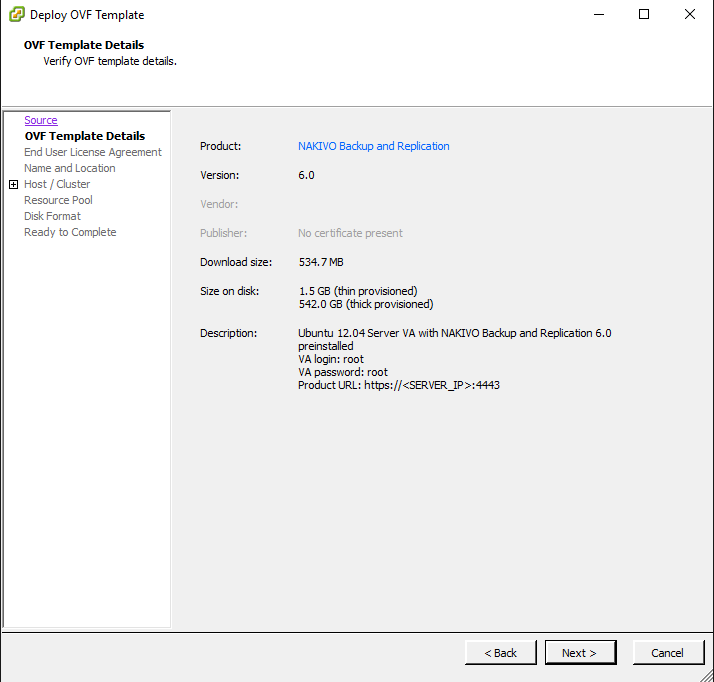
One thing I really like about the Nakivo Backup & Replication v6.0 product is the availability of a virtual appliance offering that makes deployment, installation and configuration a breeze. However, for those that would like to install in a Windows or Linux VM, there are installers for both Windows and Linux also. I am not going to show the process in its entirety of deploying the OVA template, as it is straightforward and follows with any other OVA deployment. However, below are the specs of the OVA install itself so you have an idea of the requirements.
Deploying the Appliance and Setting up Backups
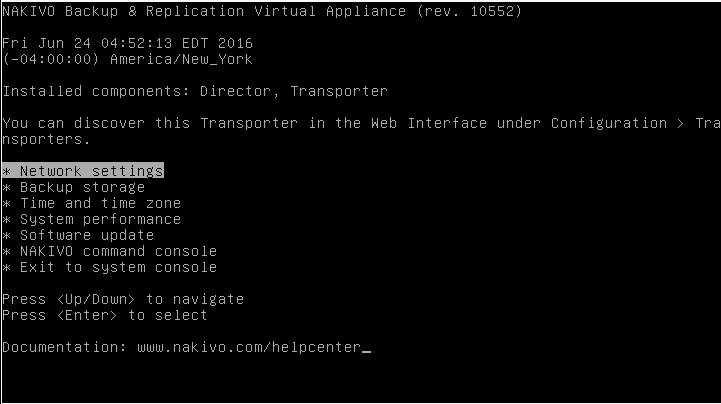
Once the OVA template is deployed, you are prompted with a menu of options for configuration. One of the first things you will most likely want to do is setup your network settings.
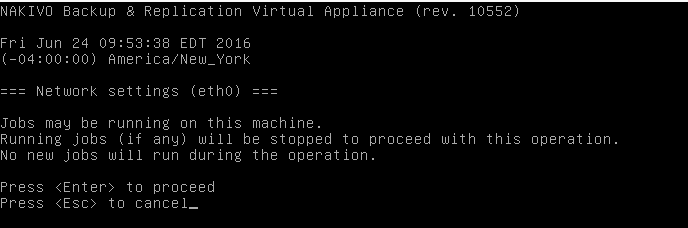
After setting your IP address options, the VM will recycle services and come back to the menu.
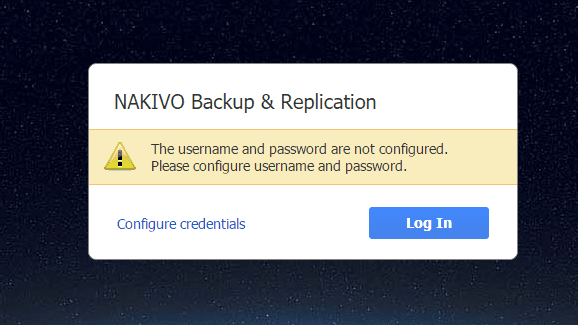
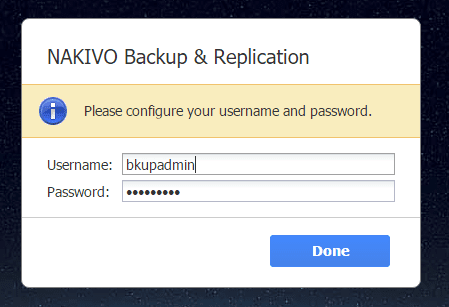
Once you have setup your TCP/IP connectivity, you need to navigate to https://<ipaddress>:4443 to connect to the Nakivo console. We need to do a bit of housekeeping here to get up and running. You will want to click the configure credentials link in the dialog box to setup a user and password for access. The default login is root/root.
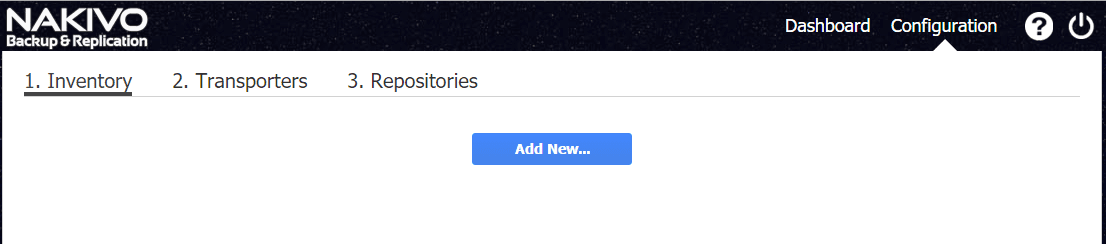
Now that we have user access setup to the console, we are prompted with a setup wizard that helps you get up and running with backups right off the start. There are basically the three steps that you see below: Inventory, Transporters, and Repositories that need configuration to start backing up your environment.
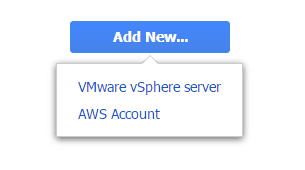
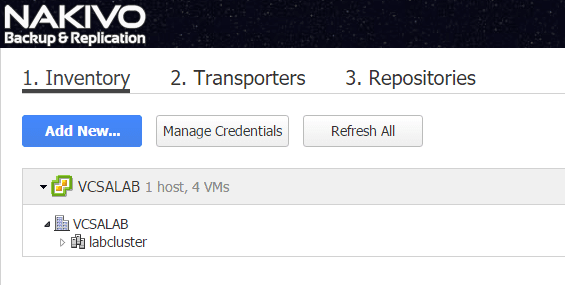
When we click on the Add New… button under Inventory, we have the options of “VMware vSphere server” and “AWS Account”. For the purposes of this post, let’s setup access to VMware vSphere.
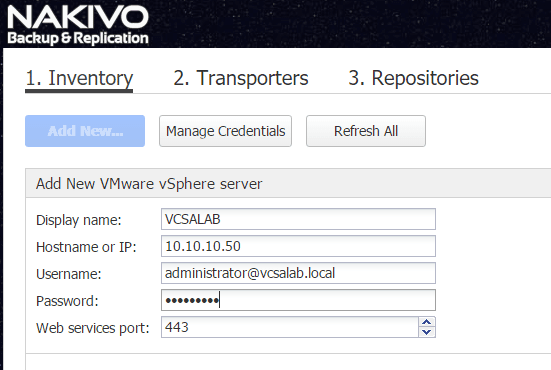
Here I am adding a new VMware vSphere server as you can see, you have the options of Display Name, connection information and port choices that can be made.
Cluster is added now to the Inventory. Let’s move on to the Transporters section.
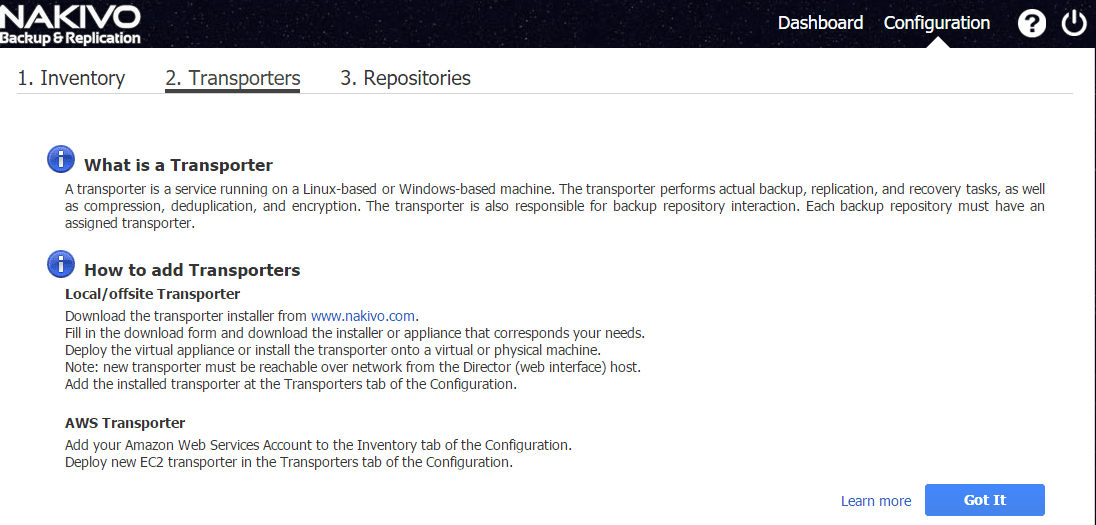
As the page explains the transporter is a service that performs the actual backup, replication, and recovery tasks along with compression, deduplication, and encryption. So it is a critical part of the process for Nakivo. The nice thing is you actually have a builtin Transporter service with the OVA appliance, so you can simply point it to the builtin service. I would imagine for much larger environments there would be benefit to separating out the transporter service(s).
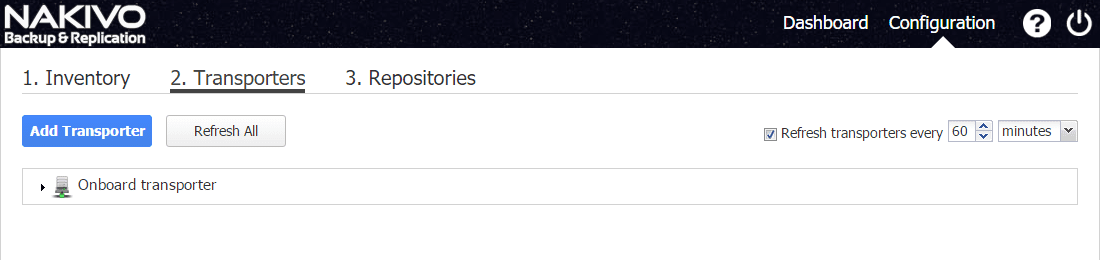
Here I am selecting the “Onboard transporter”.
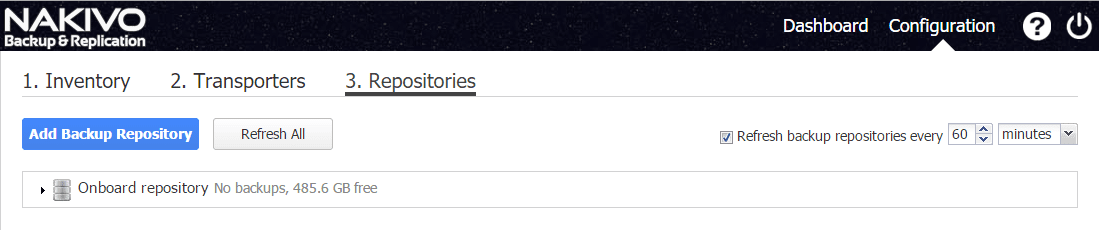
The last step is selecting the repository. As you can see, with the appliance, we have the option to use the “Onboard repository”.
Now that everything is setup from a configuration standpoint, we can now look at creating backup jobs.
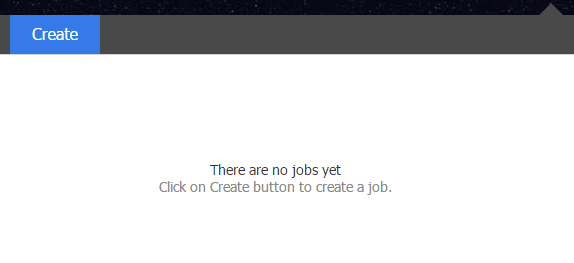
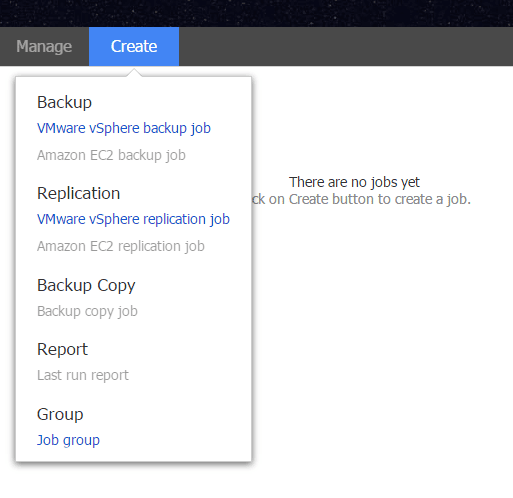
When we create a backup job, we are prompted with the type of backup that we are wanting to setup. Here I am selecting the VMware vSphere backup job.
Here we have a nice drag and drop interface, where we can select items from our vSphere environment and drag them over to the right hand pane to enable backup for that item(s).

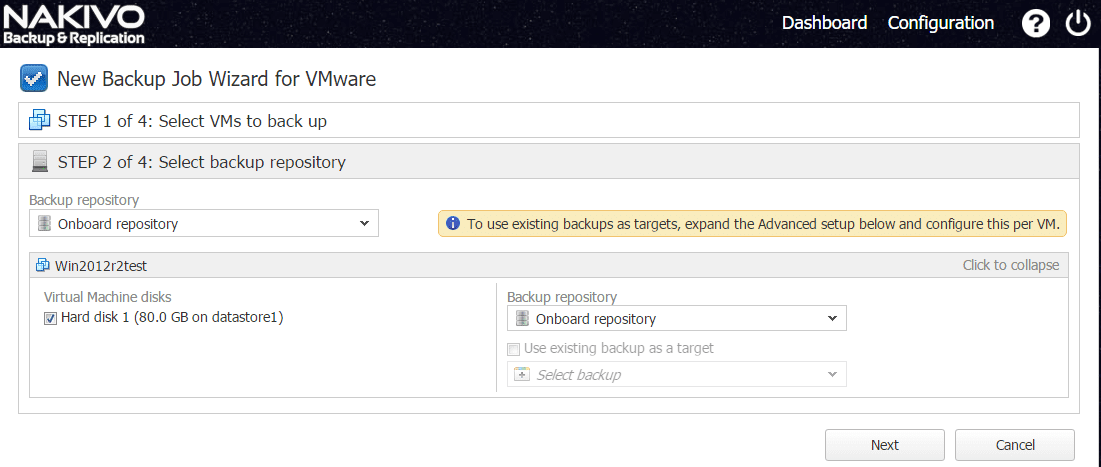
The next step is to select the backup repository.
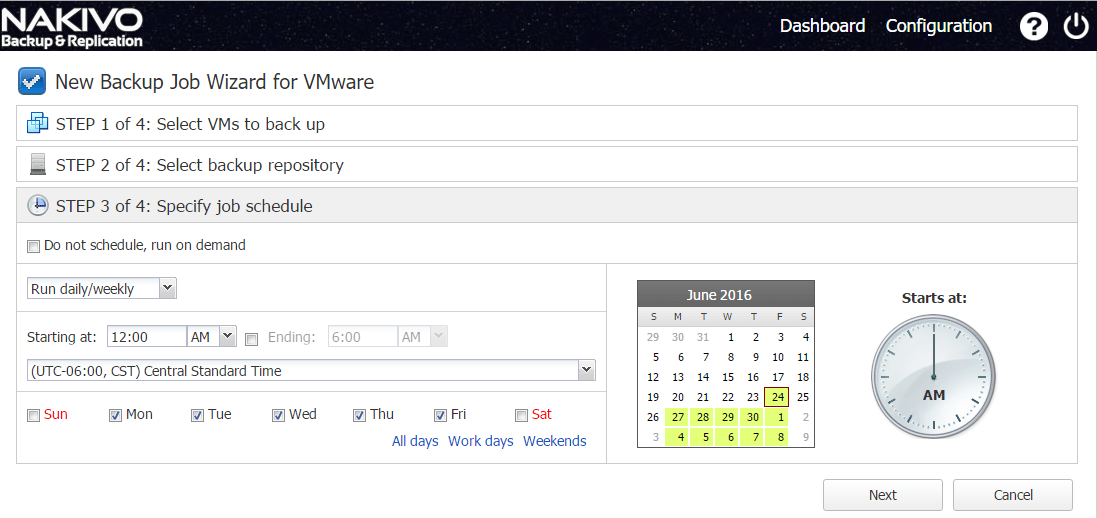
Setup the backup schedule.
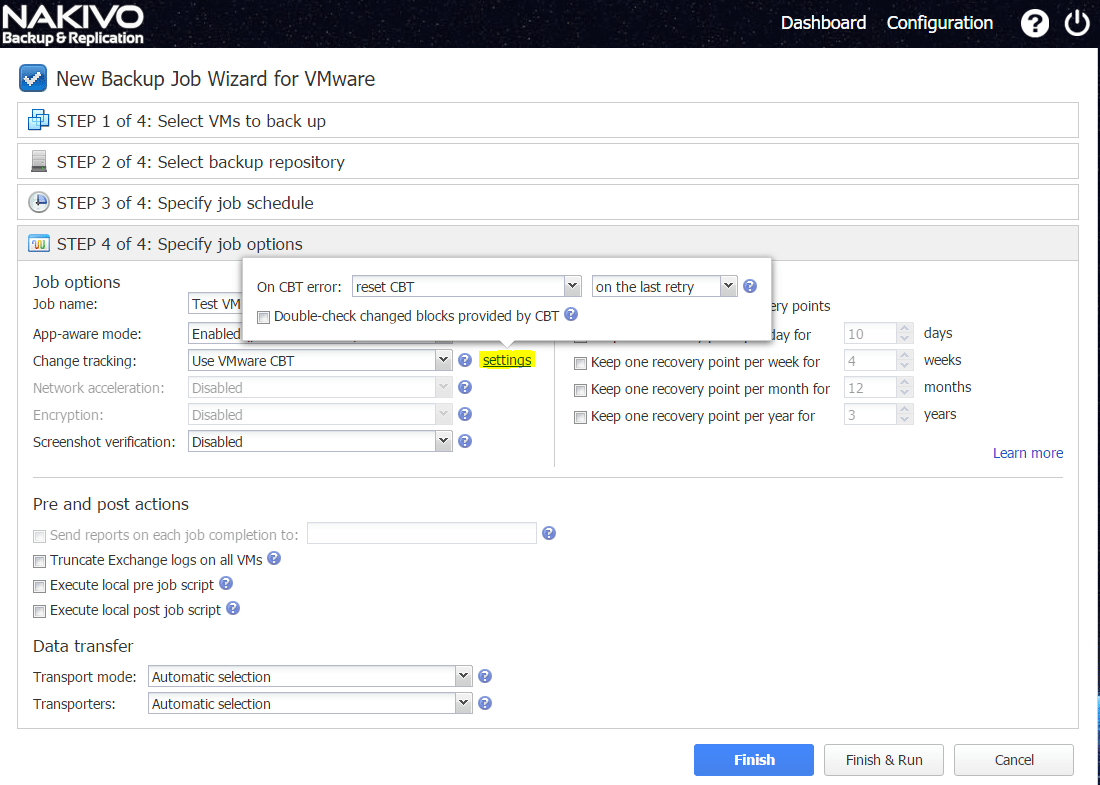
Here we can see some of the changed block tracking options specifically with errors, etc.
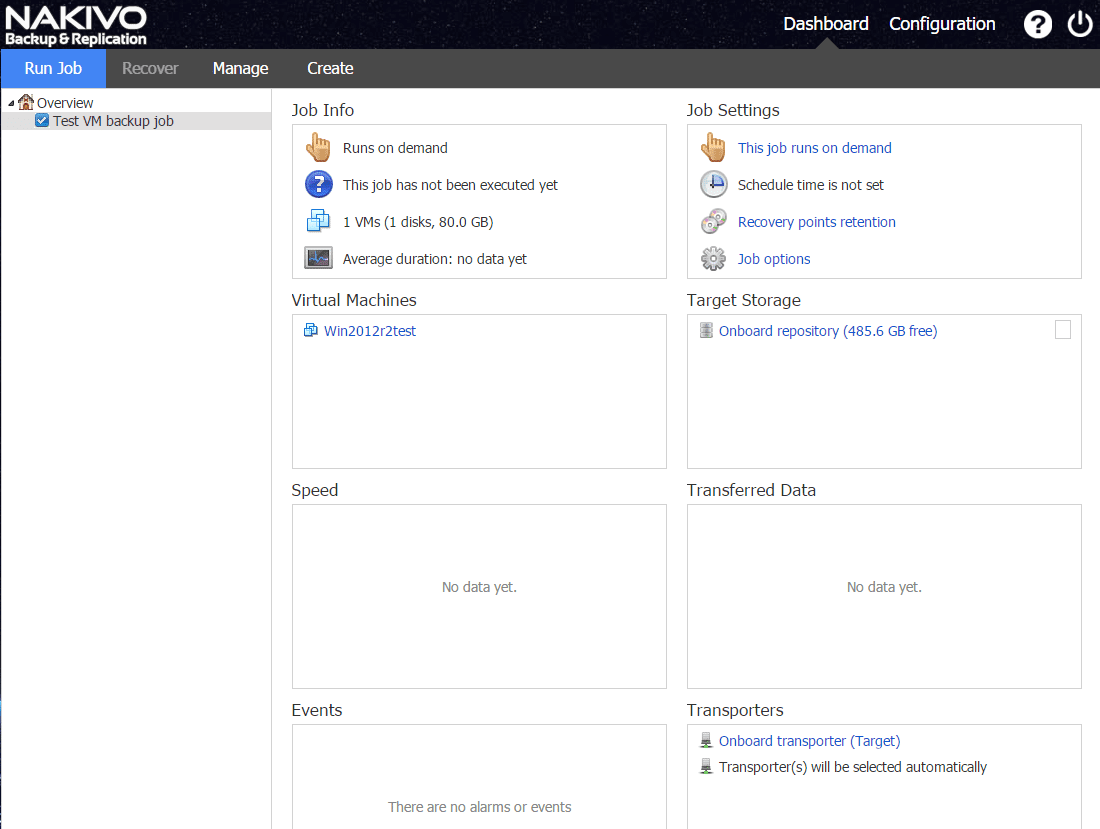
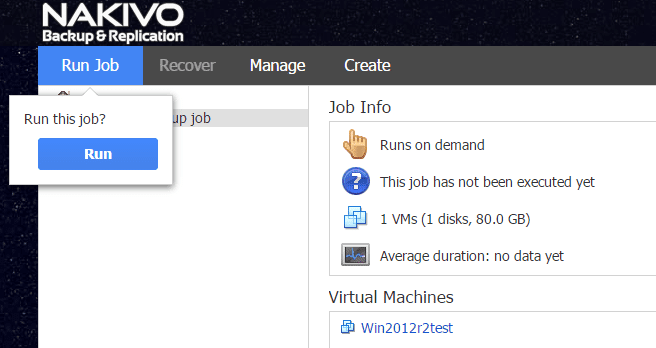
Once the job is created. You see the Run Job option at the top left hand corner. When you click to Run Job it pops up a box to “Run this job?” and you can then select to Run the job.
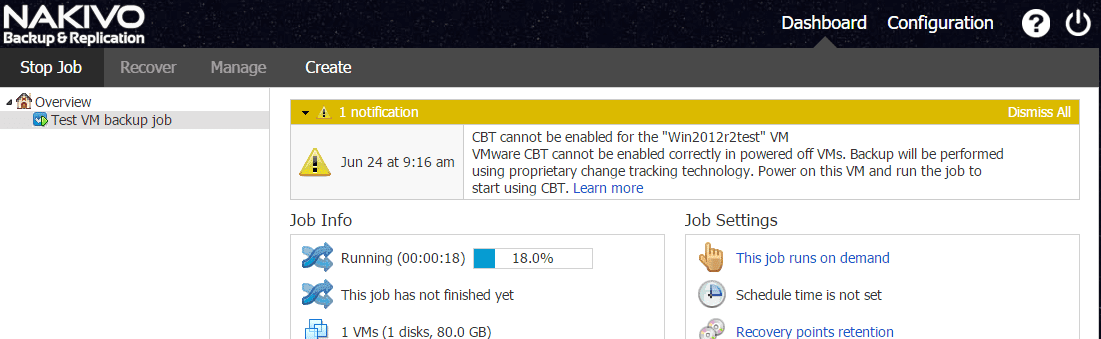
Just a note, I received an alert since the VM I had chosen to protect was powered off, CBT cannot be enabled for those VMs and so the proprietary Nakivo change tracking technology is used. Once the VM is powered on, you can then use VMware CBT.

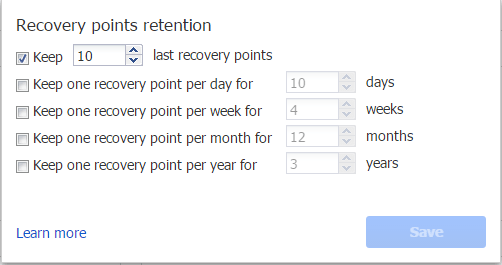
Just a quick look at retention policy which by default keeps the last 10 recovery points.
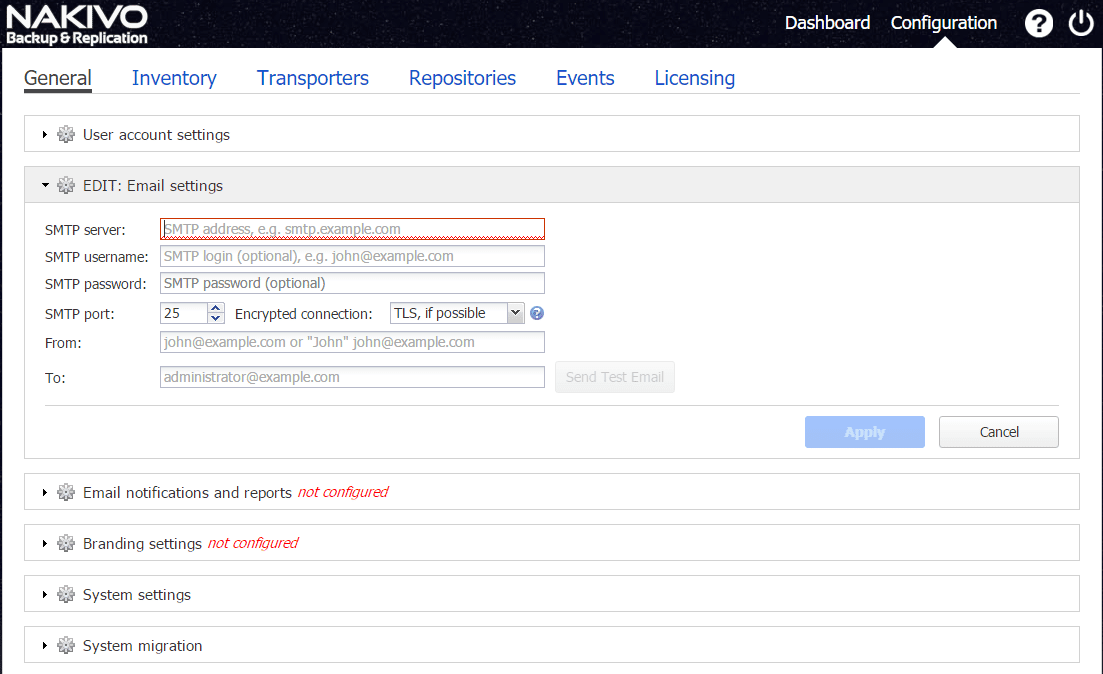
The Nakivo configuration panel provides several options for notifications, branding settings, and other system related tasks.
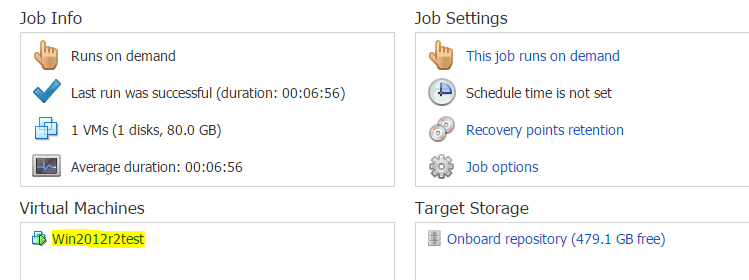
The system refresh option can be set to the desired refresh interval which by default is 60 minutes. In my case where I had a powered off VM and then powered it back on, I had to manually refresh that in the console. This would be taken care of by a much lower refresh inventory interval.

After running the refresh, I correctly saw the powered on state of the VM.
Recovery with Nakivo
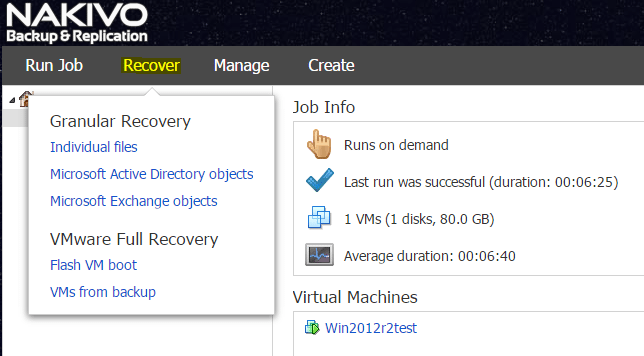
Recovery with Nakivo was quick and painless with many options as an administrator to take control of the restore operation. To recover, you simply click the Recovery menu option and select the method you want to employ to recover. I simulated a full VM failure by simply deleting a test VM. So the following is showcasing the VMware Full Recovery.
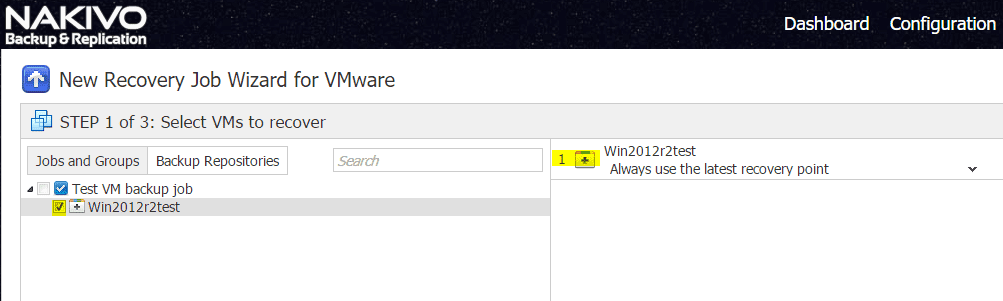
Step 1 – We select the VM for recovery.
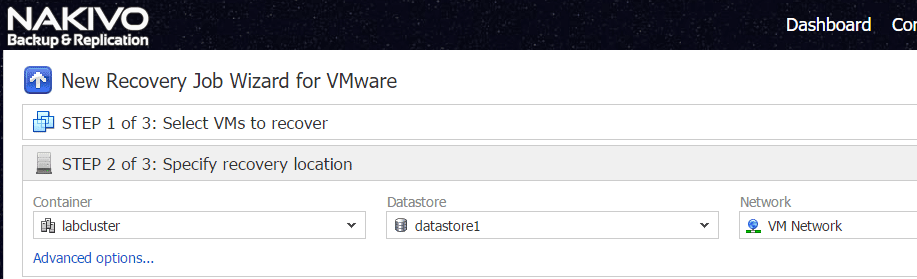
Step 2 – Specify the recovery location to use.
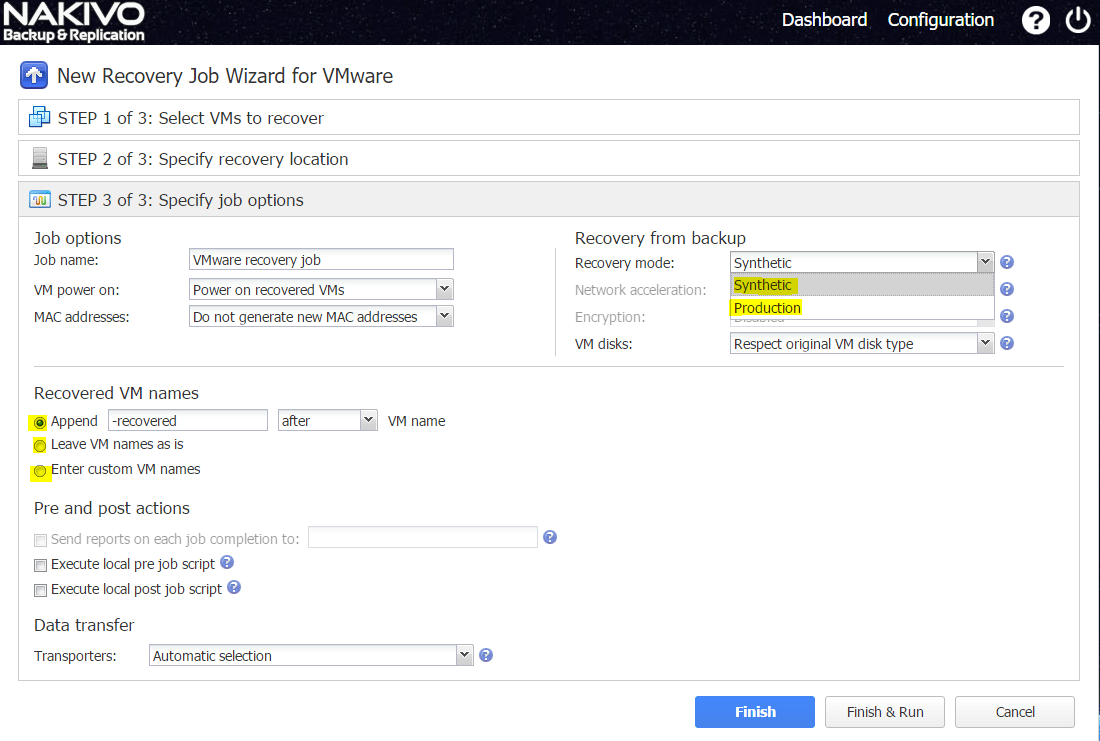
Step 3 – We can specify job options. Here is where we can really take control of the restore operation. We can choose how the VM is named, we can specify the recovery mode either Synthetic or Production. In the Synthetic restore – environment dependencies (such as CPU affinity, memory allocation, vApp info, datastore URL, and so on) will be removed from recovered VM(s). All VMs will be fully functional and will contain all their data. Production – all of the above is preserved.
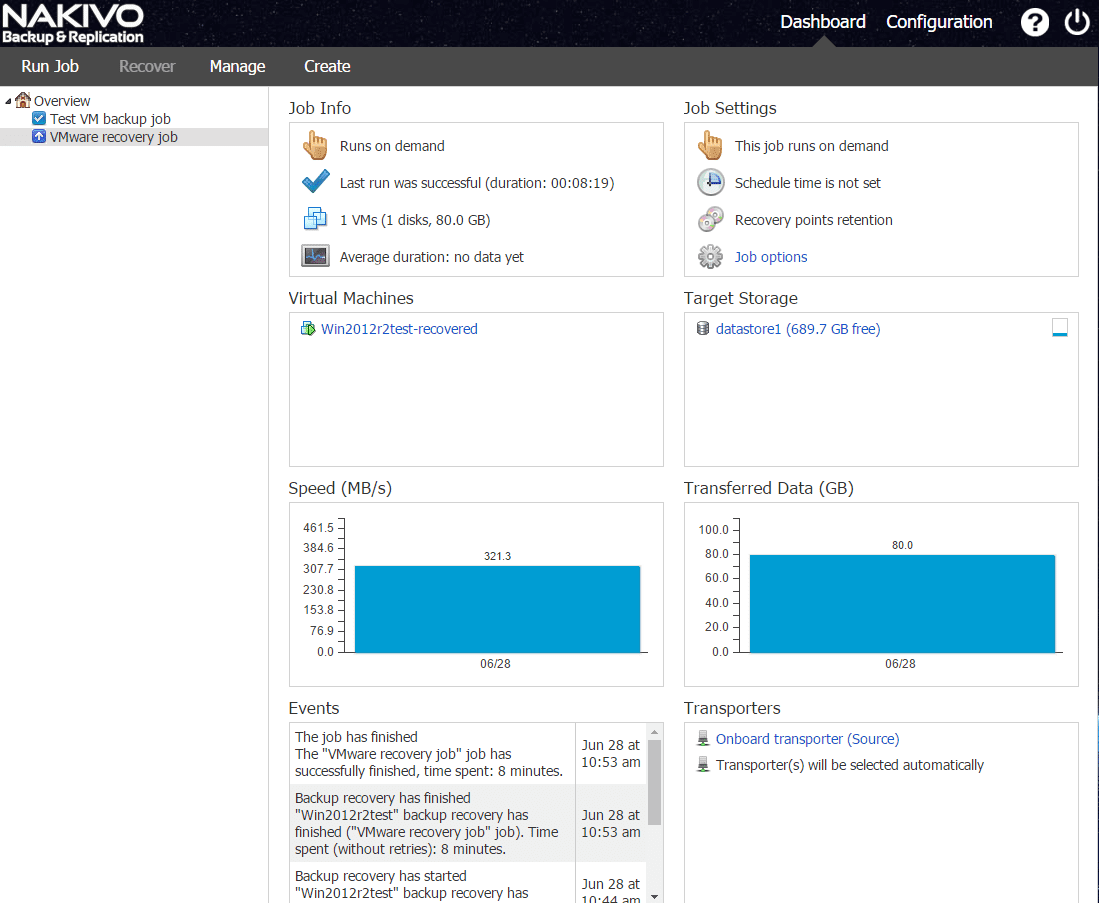
Finally we run the job and the VM is restored. Below, you see the finished job completed with the VM recovered with the “-recovered” appended to the name.
Final Thoughts
Having had my hands on the Nakivo Backup & Replication v6.0 product now for a few days and peering into backups and restores with this post – Nakivo Backup & Replication v6.0 Install and Impressions, I can say this is truly a powerful backup and replication tool that will satisfy the needs of many in their environments. Nakivo is a very cloud capable product with integration to AWS as well as native AMI instances that can be provisioned in AWS along with integration into most public and private clouds. In the areas of storage, deduplication, and network performance the product shines and contains all the features that one would come to expect of an enterprise backup and disaster recovery solution in today’s environments.
With the availability of the OVA appliance, deployment literally takes minutes and I found the web interface extremely intuitive and cleanly designed. If you are looking for an enterprise backup utility, make sure to give Nakivo Backup & Replication v6.0 a try especially with the not for resale license readily available.