Extreme Summit XOS Basic Initial Switch Configuration
Those who are familiar with Enterasys switches know that the Extreme XOS CLI is vastly different from the Enterasys line of products however the XOS CLI is the way forward for the future of Extreme, so we might as well get used to the syntax for XOS as opposed to the Enterasys OS or EOS. Below are just a few of the commands that one needs to get a switch off the ground so to speak and get and initial configuration set for connectivity and general housekeeping.
Showing Configuration:
show config
show config detail
- configure timezone name EST -360 autodst name EDT
- enable ntp
- configure ntp server add 192.168.1.200
- configure time 1 19 2016 7 55 55
Show Switch time in use counters
show odometers
See which config is used:
show switch
Factory reset:
unconfigure switch – Resets everything back except odometer, clock, and user accounts/passes
unconfigure switch all – Resets everything including users
Default Password:
admin and blank password
Setting Password
configure account admin password
Setting System Name:
configure snmp sysName name
Set Management IP information:
con mgmt ipa 10.10.10.9/24
con vlan default ipaddress 10.10.10.9/24
Set Default Gateway
configure iproute add default 10.x.x.x
Enable Web Interface:
enable web http
Show Serial Number:
show version
Enable telnet:
enable telnet
Reset IP address on Management interface:
unconfig vlan mgmt ipaddress
Ports:
Enable and Disable
enable port 1
disable port 2:1-2:15
Showing Port config
show port config
show port 1 info detail
Port Utilization
show port utilization
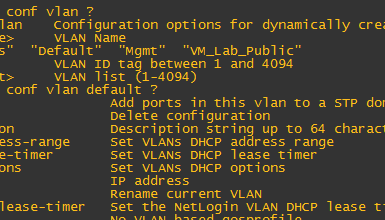
VLANs:
create vlan <vlan name>;
configure vlan ptp_gm tag 40
configure vlan VLANname add port 1 untagged
Remove Ports
config Default delete port 1-12
Routing:
show iproute
Enabling routing
routing for one vlan – enable ipforwarding [vlan] <vlan name>
routing on all VLANs – enable ipforwarding
Saving Configuration:
save configuration {primary | secondary}
Reboot the Switch
reboot
Updating XOS Image:
download image 10.10.10.10 summitX-15.4.1.3-patch1-9.xos secondary
download image 10.10.10.10 summitX-15.4.1.3-patch1-9.xos “VR-Default” secondary – use this command if you have assigned the IP address config to the Default VLAN.
install the software after it loads by typing Y when prompted if you want to install the load
When the download and install finishes, instruct the switch to reboot by typing reboot
Selecting boot image:
use image primary
use image secondary
The above is simply a quick cheat sheet that I am currently using and will be adding to. Keep checking back as I add more helpful commands as I run across them or suggest any that you find useful.