Add GUI file explorer to Windows PE environment
Recently, in working with a client who was using the Windows PE environment created with Windows 8.1 ADK, we had a server go down that had a corrupt Windows installation. It was decided to simply boot the server in a PE environment to copy off necessary files that needed to be available as soon as possible. The files in question were on a separate “Data” partition. The plan was to copy the files we needed from there and then simply reload Windows.
This wasn’t the way we wanted to do it, however, the box was running Windows Server 2003 so we needed to get off 2K3 with the end of life rapidly approaching. A fresh install of Windows Server 2012 R2 was the way we decided to go. In the meantime, I created a Windows PE boot disk using the Deployment and Imaging Tools environment. This was a no frills boot CD with just default configuration besides added drivers for storage and network.
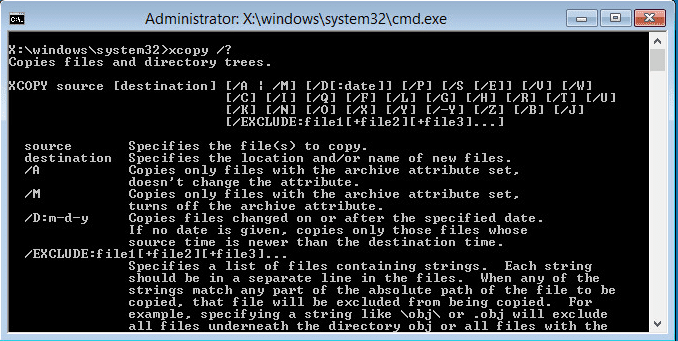
In trying to copy files using XCOPY or RoboCopy it was very cumbersome trying to command line copy bits and pieces of the folder structure that was all over the place. A GUI file explorer would have been nice! Well, let’s see how to add one.
Add GUI file explorer to Windows PE environment
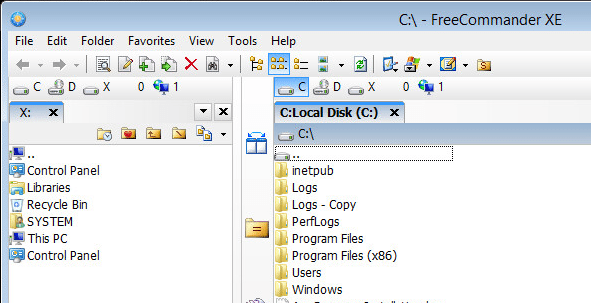
One of the easiest, free, and lightweight solutions to adding a GUI file explorer is to use the Freecommander utility which has a free 32bit “portable” version that can be included in your Windows PE boot environment. Take a look at the screenshots below which are taken from a PE environment.
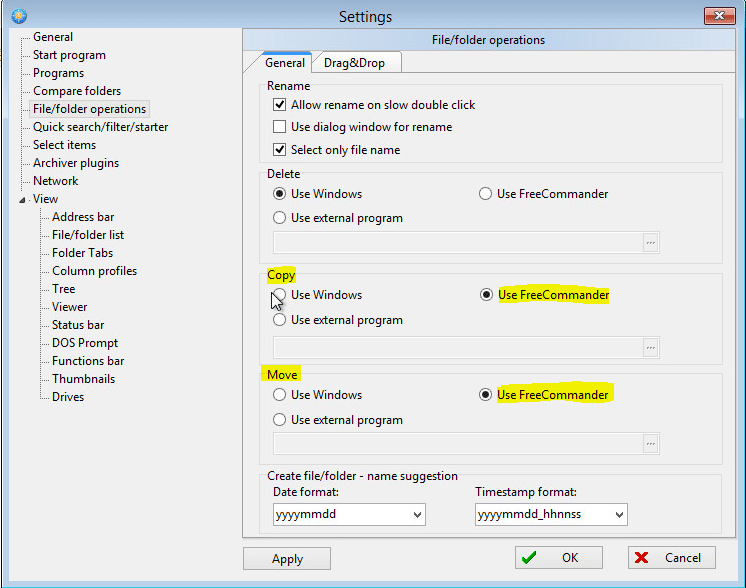
You have to go in and tell FreeCommander that you want it to be the master of Deletes, Copies, or Moves, however, once you do this it is persistent throughout your PE session.
Steps:
So the steps to include this in a Windows PE environment:
- Download the 32bit portable environment
- Mount your 32bit Windows PE environment boot.wim
- Copy this freecommander portable folder to your mounted 32bit windows pe environment
- Unmount and commit the PE environment
- Use the madewinpemedia command to make either a bootable USB drive or an ISO that you can burn to a CD/DVD
Let’s look at a refresher on how to mount and unmount an image:
Mount
dism /mount-wim /wimfile:"c:path_to_your_boot.wim" /index:1 /mountdir:c:mount
After you have mounted the image to the path you choose such as c:mount you then simply copy the Freecommander folder into the root of that directory.
Unmount
After copying Freecommander and/or other tools of your choosing, to unmount:
DISM /Unmount-Wim /Mountdir:C:MyDirMount /Commit
After you have unmounted and committed the changes you have made, you are ready to create your media.
USB Boot
makewinpemedia /ufd c:path_to_your_win81adk g:
This again would be the path to your win81adk winpe_x86 folder and the g: drive in the example above, is the letter of your USB drive.
After you have created your USB boot drive and booted into the Windows PE environment, you can then simply launch FreeCommander from the boot environment.
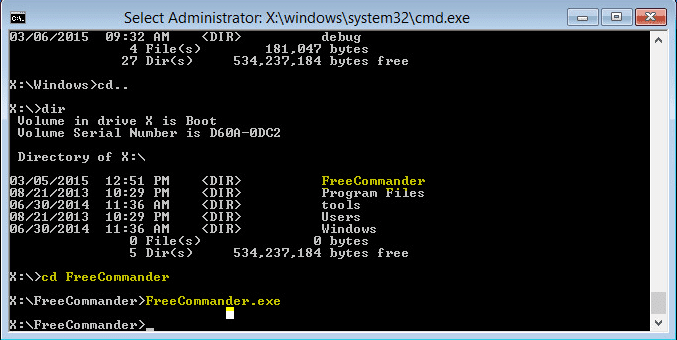
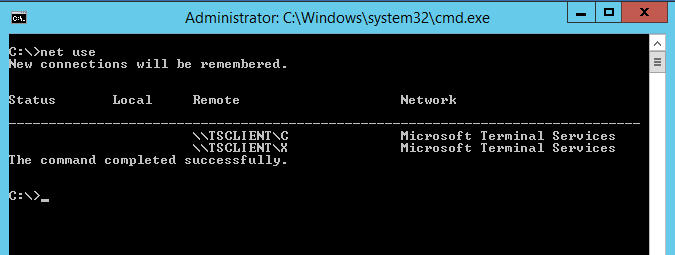
Notice, in the cmd.exe above, we have simply changed to the FreeCommander directory and launched the application executable – FreeCommander.exe
Final Thoughts
Adding a GUI file explorer to Windows PE environment need not be difficult. Using the Windows 8.1 ADK and the FreeCommander portable application, you can easily add a GUI to your Windows PE environment, which can be very handy in situations where you are having to copy many different directories from many different parts of the directory tree.